Do you ever open your notebook and wonder how to make your October bullet journal feel both functional and festive? I know the feeling—every fall, I get excited about setting up my spreads, but I also want them to capture the cozy, spooky charm of the season. That’s exactly why I created this Halloween-themed monthly spread.
Over the years, I’ve tried different approaches: some months I spent hours drawing every box by hand, and other times I cut corners with simple layouts. But this October I wanted something playful, creative, and easy enough that anyone could recreate it. And of course, it had to include a little magic—because what’s Halloween without pumpkins, ghosts, and a black cat or two?
If you’ve ever felt stuck with:
- How to start a bujo monthly spread without spending forever on measurements
- How to add decoration without making it too busy
- Or simply, how to make your October planner fun so you actually enjoy opening it
…then this tutorial will be just what you need.
Step 1: Choose Your Journal
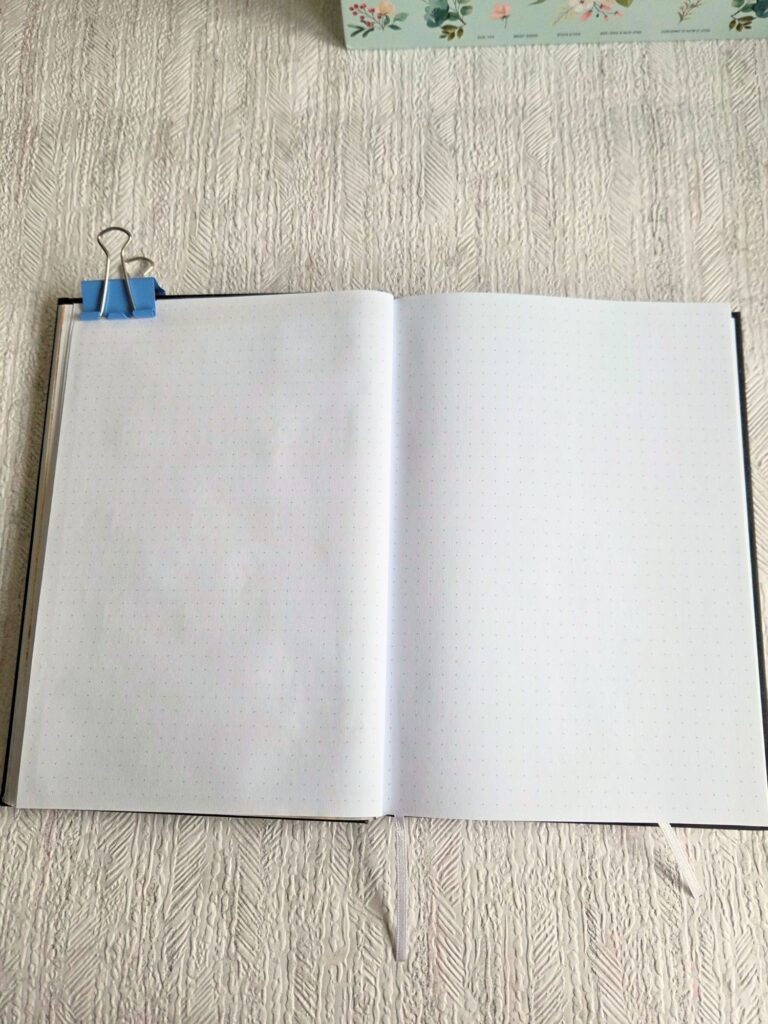
Start by picking a notebook that you love working in. A dotted bullet journal works perfectly because the tiny dots help you draw straight lines and keep everything neat. But don’t worry if you don’t have one—plain paper or even a simple math notebook will do the trick. The most important thing is that you feel comfortable using it, since this will be your creative space for the month.
If you’re just starting out, dotted or grid pages make it easier to measure boxes for your calendar spread.
Step 2: Prepare Your Calendar Boxes

For this step, I used a template I designed in Canva, printed it out, and cut it to size. This way I didn’t have to draw all the boxes by hand, which saves time and keeps the lines super neat. If you prefer, you can absolutely draw the boxes yourself directly into your journal. Using a dotted or grid notebook makes this much easier, since the dots help with spacing and symmetry.
Tip: If you’re hand-drawing, use a pencil first to lightly sketch your boxes, then go over them with a pen or fineliner. That way, you can erase any mistakes before committing to ink.
Step 3: Add Your Calendar Layout
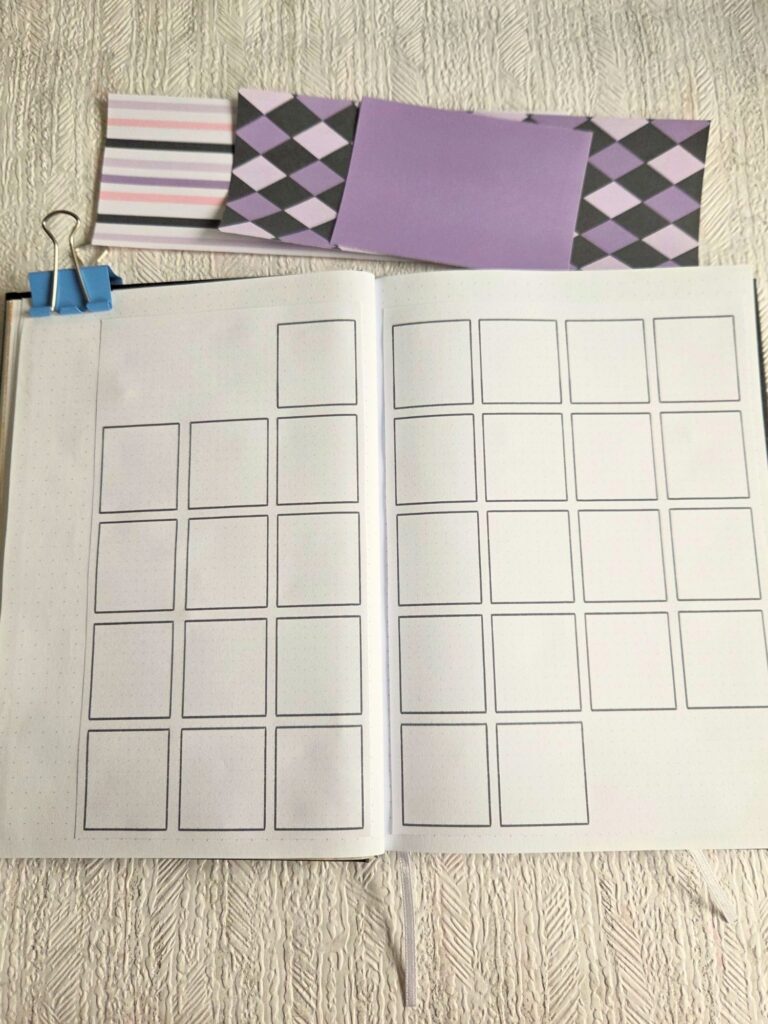
Now it’s time to attach the calendar template to your journal. I simply glued in the printed layout I prepared earlier, so I didn’t need to redraw the boxes inside the notebook. This method is quick, neat, and gives a really polished look.
If you’re gluing in printed pages, use a glue stick or double-sided tape to avoid wrinkling the paper. Press it down firmly, especially at the corners, so it stays flat and secure.
Step 4: Pick Scrapbook Papers
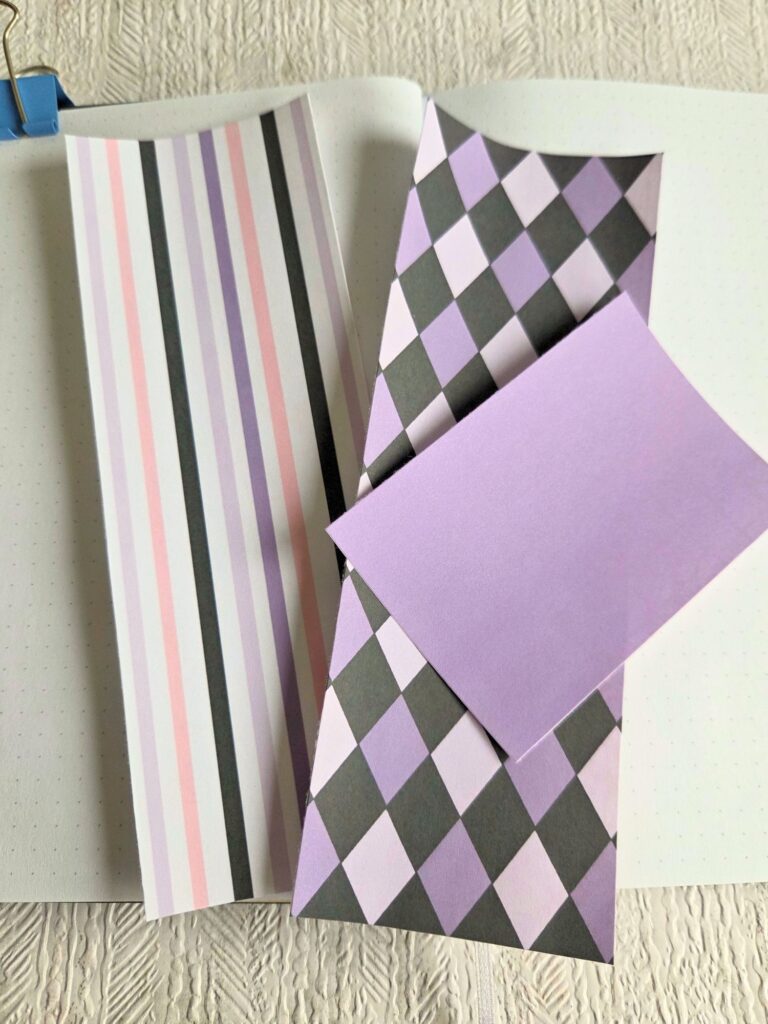
Next, choose scrapbook papers that match your theme. Since this is a Halloween spread, I went with purple tones and patterns that give a spooky yet playful vibe. Stripes, diamonds, and solid colors all work great to add variety and depth to the layout.
Tip: Stick to two or three coordinating patterns so your spread looks cohesive without being too busy. For a Halloween feel, purples, blacks, and oranges are always a safe bet—but don’t be afraid to add your own twist!
Step 5: Add the Scrapbook Paper

Now glue your scrapbook papers into place to frame and decorate your calendar. I placed mine along the edges and corners to create a balanced Halloween look with stripes and diamond patterns. This instantly gives the spread a fun, themed background without having to draw everything from scratch.
Use a glue stick or double-sided tape for the cleanest finish. If the paper edges stick up, press them down with a ruler or card to smooth them out.
Step 6: Create the Header
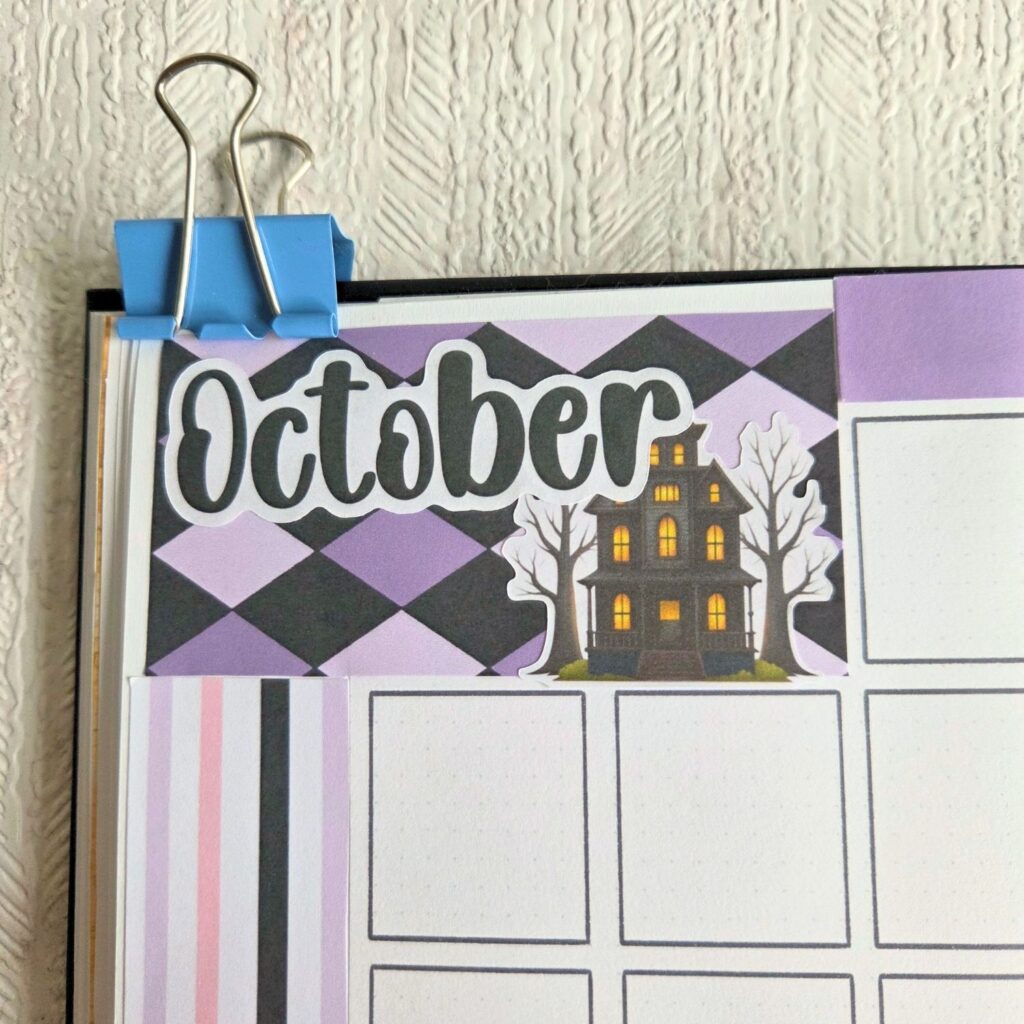
To make the spread stand out, I added a bold “October” header. I printed and cut out the title, then glued it onto the top of the page. To bring the Halloween mood to life, I placed a spooky haunted house sticker right underneath—it instantly sets the tone for the whole layout.
If you don’t have a printer, you can hand-letter the month’s name with a brush pen or marker. Adding shadows or highlights will give it extra dimension. Stickers or doodles around the header make it pop even more!
Step 7: Add Stickers
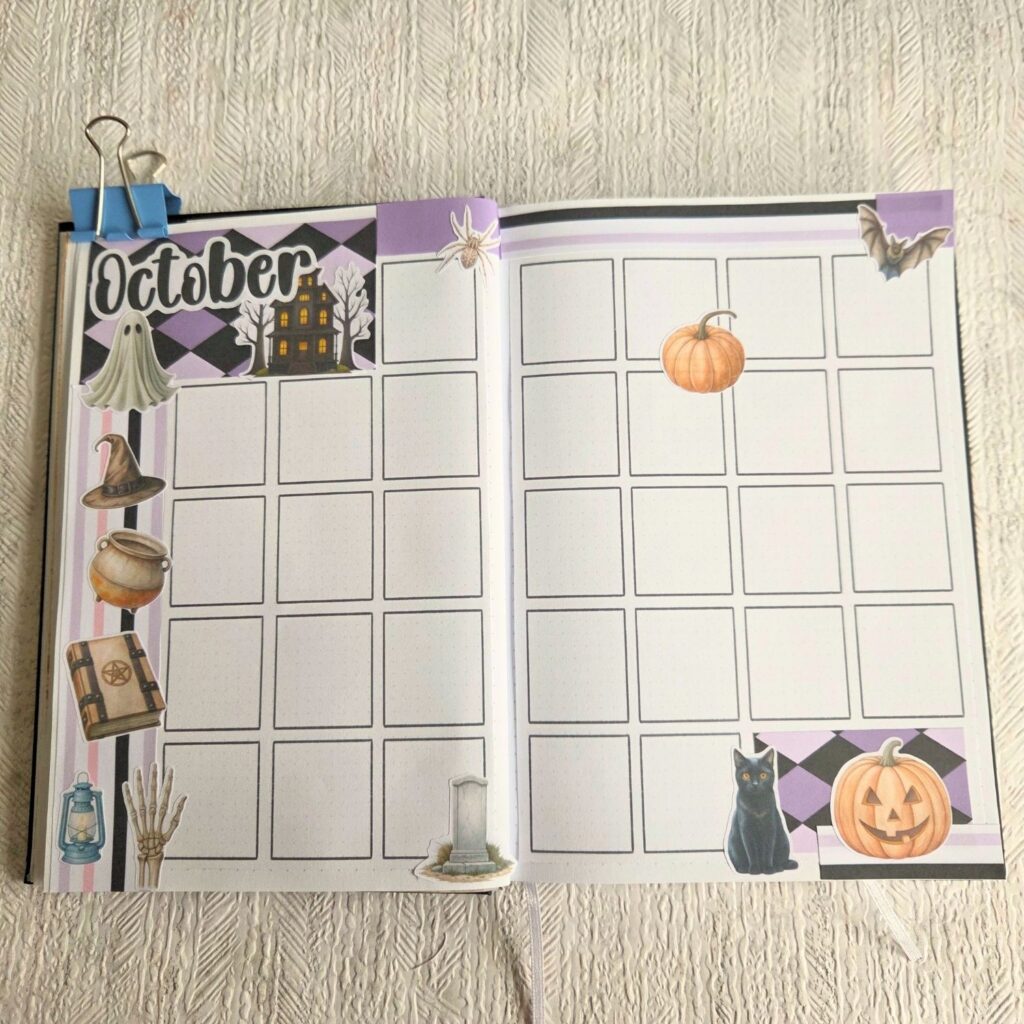
Now comes the most fun part—stickers! Choose ones that match your theme and place them around the page to bring everything to life. For this Halloween spread, I used ghosts, pumpkins, bats, a black cat, and other spooky elements. They instantly make the calendar playful and festive.
Tip: Try to spread the stickers evenly across the pages so the layout feels balanced. You can also layer smaller stickers over patterned paper for extra depth, or even mix in your own doodles if you don’t have stickers handy.
Step 8: Pick Your Pens and Markers
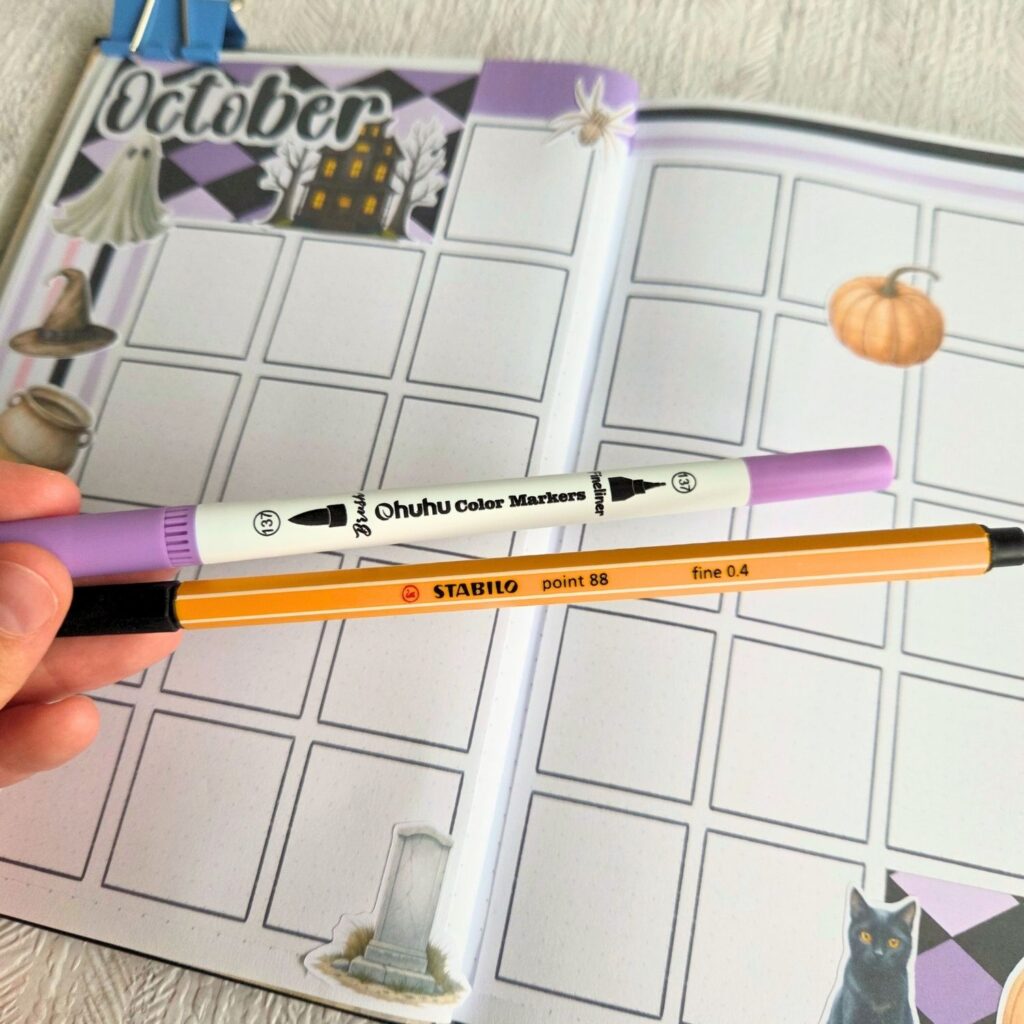
It’s time to add details! Choose a fine black pen for outlines and numbering, and a few colored markers that match your theme. I went with a soft lilac to coordinate with the scrapbook paper and will later add orange for that classic Halloween vibe. These colors tie everything together and make the page feel cohesive.
Test your pens on a scrap piece of paper before using them in your journal to avoid bleeding or ghosting. Try combining two accent colors (like purple and orange here) for contrast and a festive look.
Step 9: Number the Days
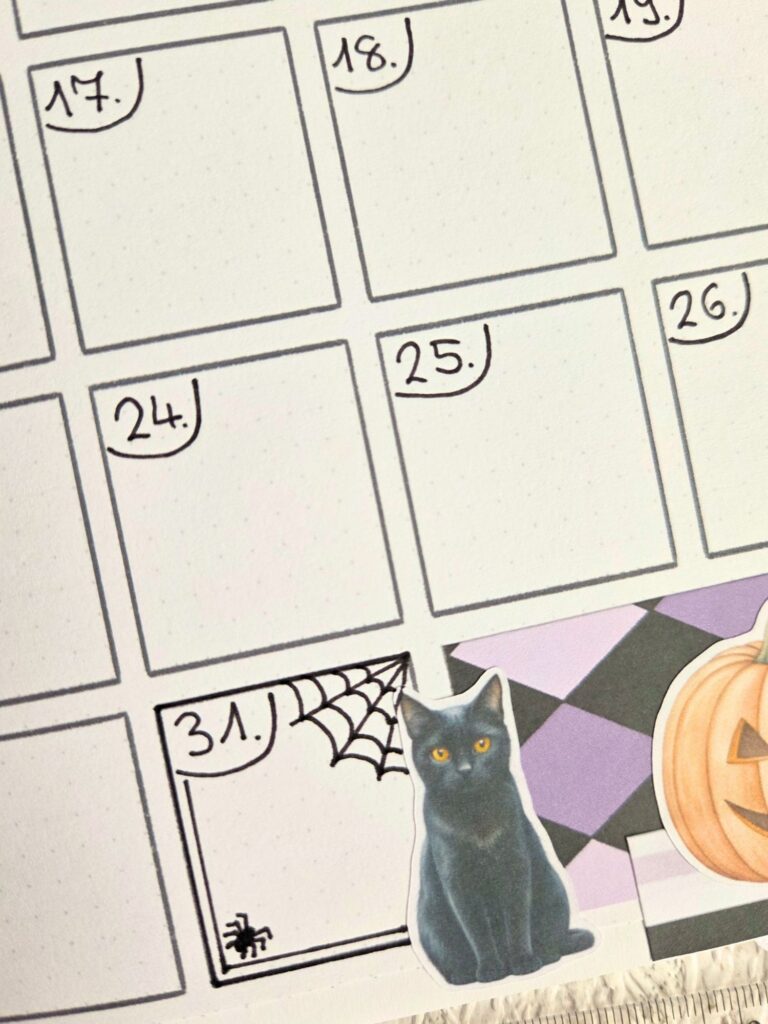
The next step is to number the boxes for each day of the month. Use your fine black pen to write the dates neatly in the corners. To make Halloween extra special, I decorated the 31st with a little spiderweb and a tiny spider, plus a bold outline to highlight the day. This small detail makes the page feel playful and festive.
Add doodles or special symbols for holidays, birthdays, or events you want to stand out. A heart for anniversaries, a star for big plans, or themed drawings (like my spiderweb) are fun ways to personalize your calendar.
Step 10: Highlight the Dates

To make the calendar more colorful and easier to read, I added a soft purple highlight behind the numbers. This simple touch ties in perfectly with the Halloween theme and makes each day pop a little more. Later, I’ll add orange accents as well to balance the colors and give it that classic spooky-season look.
Tip: You don’t need to highlight all the days in the same way—try mixing it up with alternating colors, or use special shades just for weekends or important dates.
Step 11: Final Touches
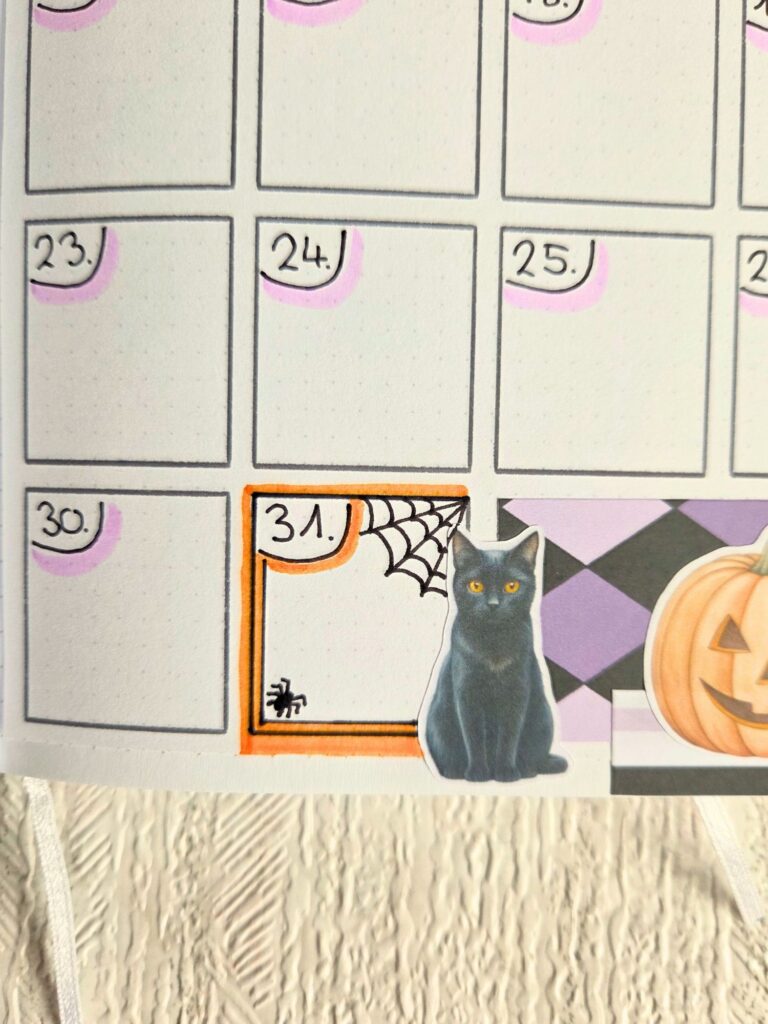
For the finishing touch, I went back to October 31st and outlined the box with a bold orange marker. From a distance, this makes Halloween stand out much more clearly and adds that extra pop of seasonal color. It’s the perfect way to highlight an important day while tying the spread together with both purple and orange accents.
You can use this trick for any special day—holidays, birthdays, or deadlines. Just pick a color that contrasts nicely with your theme so it catches the eye right away.
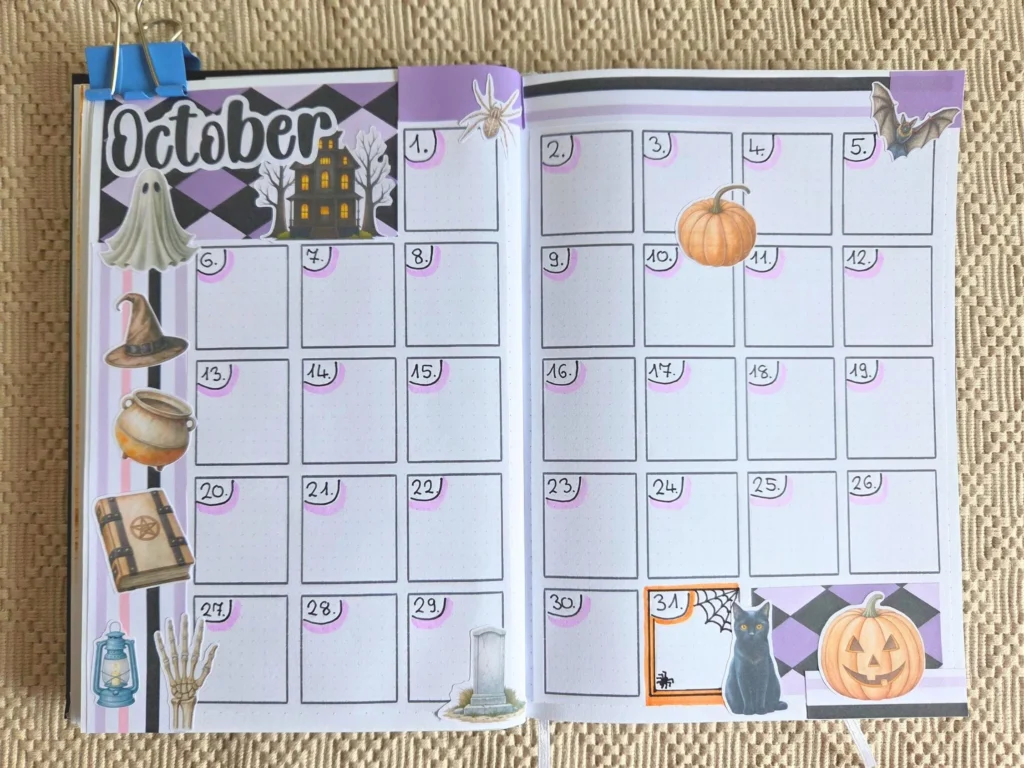
Step 12: The Final Look
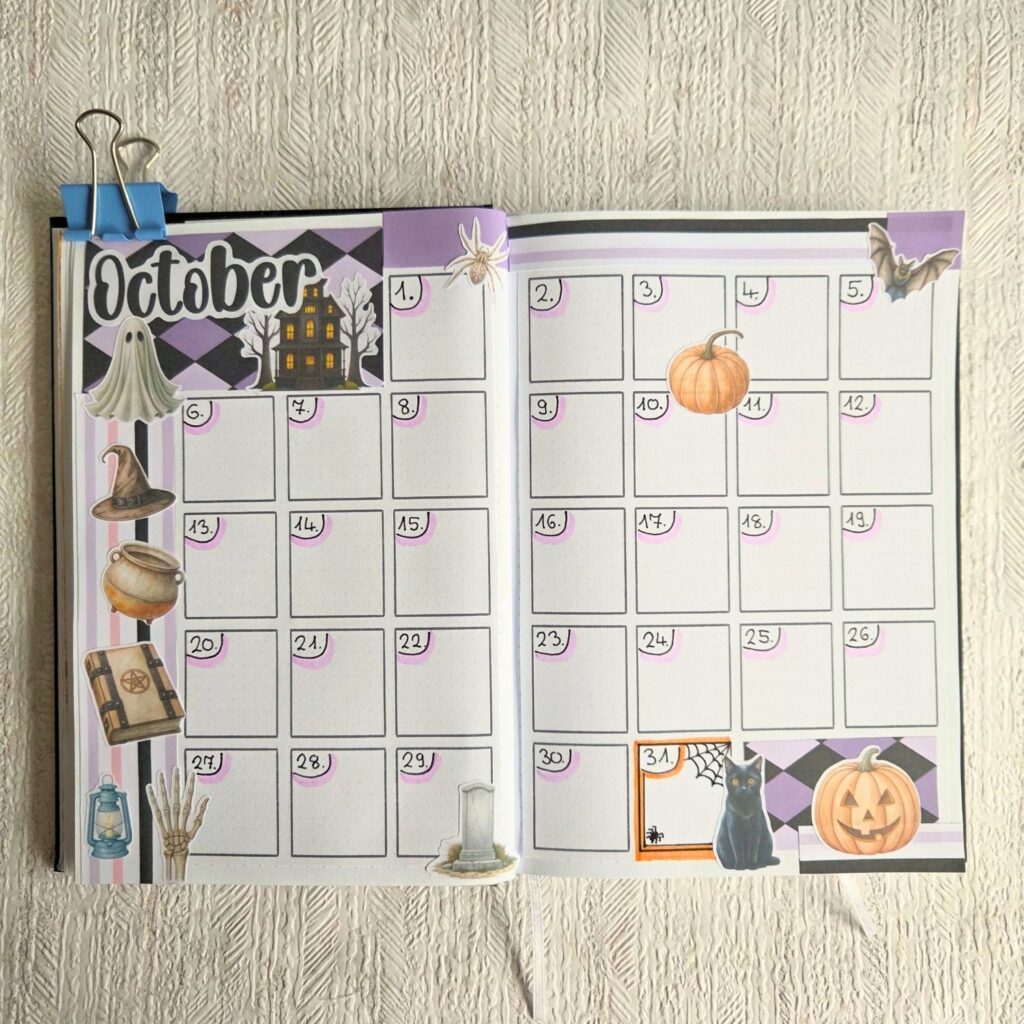
And here it is—the finished October Halloween spread! With the scrapbook papers, stickers, fun highlights, and those little spooky details, the calendar is both functional and festive. It’s ready to help you keep track of your month while also putting you right in the Halloween spirit every time you open your journal.
Don’t be afraid to make it your own. Add more doodles, switch up the colors, or include extra notes sections—this is your creative space, so let it reflect your style.
Why I Love This Spread
This October layout is special to me because it combines two things I adore: organization and creativity. My bullet journal isn’t just about tracking dates—it’s a place where I can play, experiment with colors, and let out some creative energy. Adding scrapbook papers, stickers, and seasonal doodles makes me look forward to using my calendar every single day.
And honestly, that’s the secret to keeping up with bullet journaling: make it fun enough that you want to open your notebook.
If you’re new to bullet journaling, you might also enjoy my post on what a bullet journal really is. And if you’re looking for more daily structure, check out my favorite bullet journal daily spread ideas.
Tips for Your Own October Spread
Here are a few tricks that always help me:
- Choose a theme you love. If Halloween isn’t your thing, try cozy autumn vibes, falling leaves, or even a simple pumpkin spice color palette.
- Don’t stress about perfection. Crooked lines and smudged ink happen—they give your spread character.
- Mix hand-drawn with printables. I used Canva templates here, but sometimes I doodle everything. Do what feels easiest and most fun for you.
- Highlight special dates. I always make October 31st extra bold because it’s the heart of the month. You can do the same for your own birthdays, events, or holidays.
For another take on October themes, you can also peek at my cozy fall monthly spread—it’s a completely different vibe from this Halloween version.
Final Thoughts
And that’s it—my October bullet journal monthly spread with a Halloween twist! It’s festive, easy to follow, and a little spooky in the best way. I hope walking through these steps inspires you to create your own version.
Now I’d love to hear from you:
- What theme are you using for October?
- Do you prefer stickers, doodles, or a mix of both?
- Will you try highlighting special days like I did with Halloween?
Share your spreads with me on Pinterest or tag me on Instagram @cozymomjournal—I can’t wait to see your creations!
Because at the end of the day, your bullet journal should feel like a little reflection of you—organized, creative, and ready to make even busy months more joyful.