Cute spooky coloring pages are one of my favorite ways to enjoy Halloween without making everything quite so… terrifying. Give me smiling ghosts, chubby pumpkins, tiny bats, witch hats, and candy with faces, and I’m very happy to leave the genuinely creepy stuff to someone else.
I love creative projects that don’t require a huge plan or an overflowing craft closet, and coloring definitely falls into that category. Sometimes I want to make something but don’t have the energy to start a complicated project, and that’s exactly when I reach for an easy coloring page, a handful of pencils, and whatever colors happen to look good together that day.
For this collection, I wanted that Halloween feeling without losing the cozy, playful side I love. So these 21 printable coloring sheets are filled with friendly ghosts, pumpkins, witches, bats, candy, a mummy, a little vampire, and even a monster who looks far more interested in trick-or-treating than scaring anyone.
And please don’t feel like Halloween means you have to use orange, black, and purple on every single page. I love traditional Halloween colors, but pastel pink pumpkins and lavender ghosts are absolutely allowed here. The coloring police are not coming. Promise.
You can keep these pages simple for a quick relaxing activity, or spend more time adding shadows, backgrounds, patterns, and little finishing details. I’ve included color suggestions and creative ideas with each design, but think of them as inspiration rather than rules.
If you’re looking for even more Halloween designs after these, you can also explore my Halloween Coloring Pages collection. And when you’re ready for something completely different from spooky season, my Fruit Coloring Pages and Farm Animal Coloring Pages are fun options to save for later.
Grab your crayons, colored pencils, or markers, pick the first design that makes you smile, and let’s add some color to Halloween.
1. Cute Ghost With Happy Pumpkins
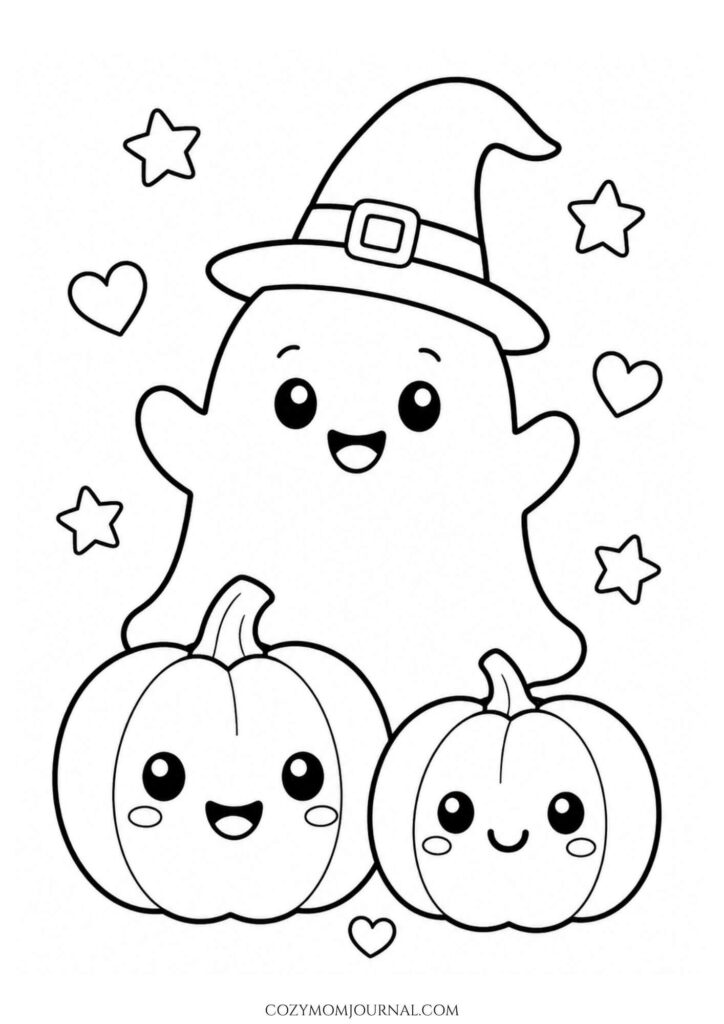
Nothing says cute spooky season quite like a smiling little ghost in a witch hat. Paired with two cheerful pumpkins, floating stars, and tiny hearts, this page has a sweet Halloween vibe that feels more cozy than scary.
It’s a great pick if you want something simple, relaxing, and fun to color. The big open spaces also make it especially nice for younger kids or for anyone who wants a quick, satisfying coloring session.
Coloring ideas to try:
- Give the ghost a soft white body with light gray or pale lavender shading around the edges.
- Try a classic orange pumpkin for the bigger one, then switch things up with pastel peach, mint, or pale yellow for the smaller pumpkin.
- The witch hat would look adorable in black and purple, or even pink and black for a more playful twist.
Extra tips:
- Use a bright color for the stars, like yellow or gold, to make the page feel extra magical.
- Add blush pink to the cheeks and hearts for a sweeter kawaii look.
- If you want to fill the background a little, a very light blue, lavender, or peach wash can help the ghost stand out without making the page feel too busy.
2. Sweet Spider on a Halloween Web
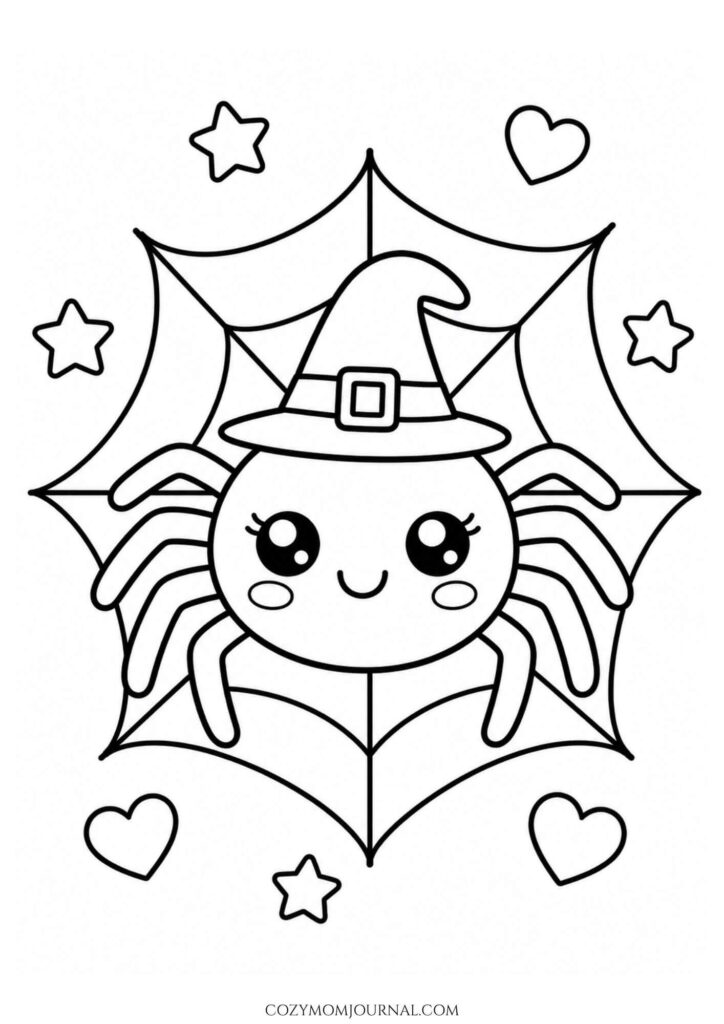
A smiling spider in a witch hat makes spooky season feel surprisingly adorable. With the web as the main backdrop and little stars and hearts all around, this design has that perfect mix of Halloween charm and kawaii cuteness.
There’s also plenty of room to get creative without the page feeling overwhelming. It works beautifully with classic fall shades, but it can just as easily lean pastel if you want a softer, more playful look.
Coloring ideas to try:
- Go with a black or dark purple spider for a more traditional Halloween palette, or choose pink, lavender, or teal for something extra cute.
- The witch hat looks great in purple with a gold buckle, but orange and black would also pop nicely.
- For the web, try light gray, pale blue, or silver so it stands out gently without stealing attention from the spider.
Fun ways to add extra detail:
- Color the cheeks blush pink to make the face look even sweeter.
- Use two different colors on the spider’s legs for a fun, whimsical twist.
- Make the stars bright yellow and the hearts pink or red to bring a cheerful contrast to the spooky theme.
Helpful tips:
- If you’re using markers, lighter shades on the web can help keep the page from looking too heavy.
- Colored pencils are great for adding soft shading around the spider’s body and hat.
- A light lavender or dusty blue background can give the whole page a magical nighttime feel.
3. Little Vampire With a Smiling Pumpkin
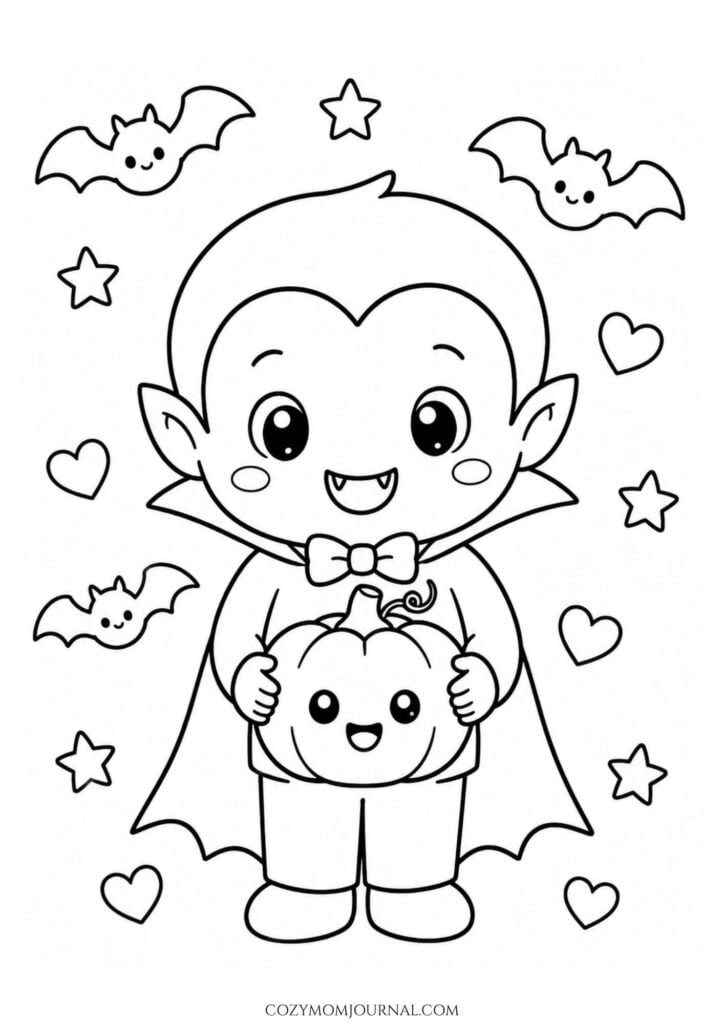
A tiny vampire with a bow tie and cape brings just the right amount of spooky sweetness to the page. The happy pumpkin, fluttering bats, and floating hearts make the whole scene feel playful, festive, and perfect for a lighthearted Halloween coloring break.
There’s a fun mix of character details here without making it feel too complicated. It’s an especially cute option for anyone who loves classic Halloween icons but still wants a soft, kid-friendly look.
Coloring ideas to try:
- Give the vampire a classic outfit with a black cape, red collar, and white shirt for a timeless Halloween feel.
- For a softer palette, try lavender, teal, or dusty blue on the cape instead of black.
- The pumpkin can be bright orange, but a pale peach or golden yellow version would also look adorable.
Fun details to play with:
- Color the bats dark gray, black, or even deep purple to make them stand out near the top of the page.
- Add a little pink blush to the vampire’s cheeks and the pumpkin’s face for extra charm.
- Use yellow for the stars and different shades of pink or red for the hearts to keep the background lively.
Helpful tips:
- If you want more dimension, shade the cape a bit darker around the edges and folds.
- A light night-sky background in pale blue, lavender, or gray can make the character pop without overpowering the design.
- Gel pens or colored pencils work well for tiny accents like the bow tie, fangs, and pumpkin stem.
4. Kawaii Pumpkin Party With a Ghost and Bat
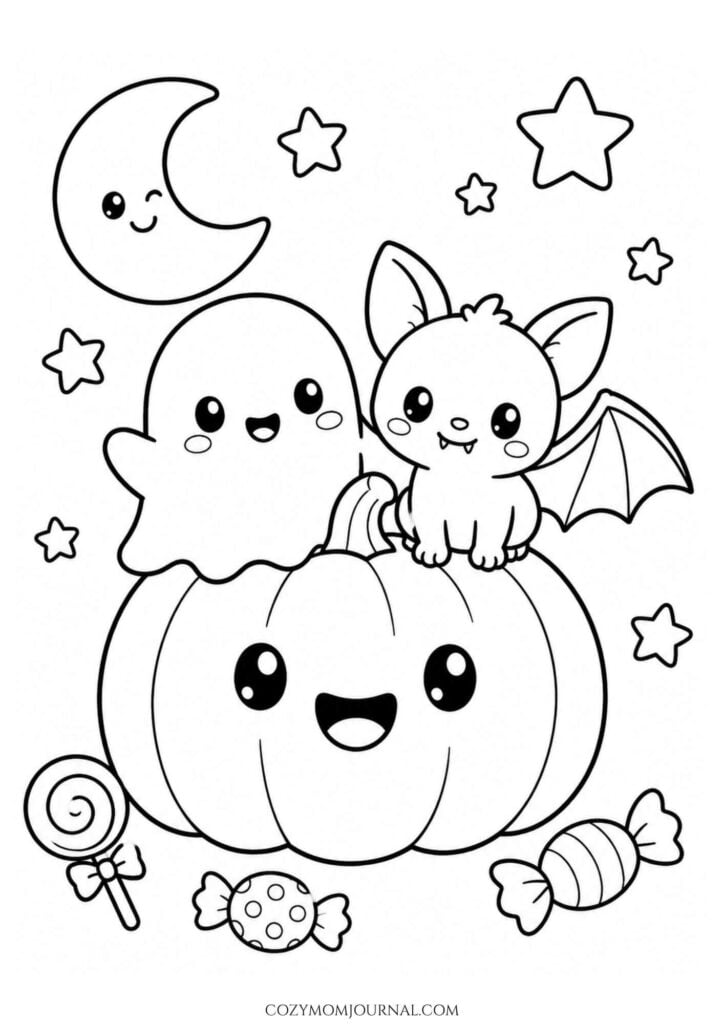
Here’s a fun little Halloween scene that feels more sweet than spooky. With a smiling ghost, a tiny bat, a happy pumpkin, and scattered candy pieces, this design has a playful charm that makes it especially inviting for a cozy coloring session.
The crescent moon and stars help give it a soft nighttime feel without adding too much complexity. It’s an easy page to enjoy if you like cute seasonal characters and simple shapes that still leave room for creativity.
Color palette ideas:
- Color the pumpkin in classic orange, or switch to peach, cream, or even pastel pink for a softer look.
- The ghost can stay bright white with light gray, pale blue, or lavender shading around the edges.
- Try deep purple, charcoal, or teal for the little bat to make it stand out against the pumpkin.
Fun details to experiment with:
- Make the candies all different colors for a cheerful pop near the bottom of the page.
- Use buttery yellow for the moon and stars, then add rosy pink to the cheeks for an extra kawaii touch.
- The pumpkin stem could be brown, olive green, or a warm tan depending on the look you want.
Helpful coloring tips:
- If you want the scene to feel more magical, add a very light blue or lavender background wash behind the characters.
- Colored pencils are great for gentle shading on the pumpkin sections so it looks more rounded.
- For a polished finish, use a white gel pen after coloring to add tiny highlights on the candy, moon, or pumpkin eyes.
5. Friendly Halloween Monster With a Candy Bucket
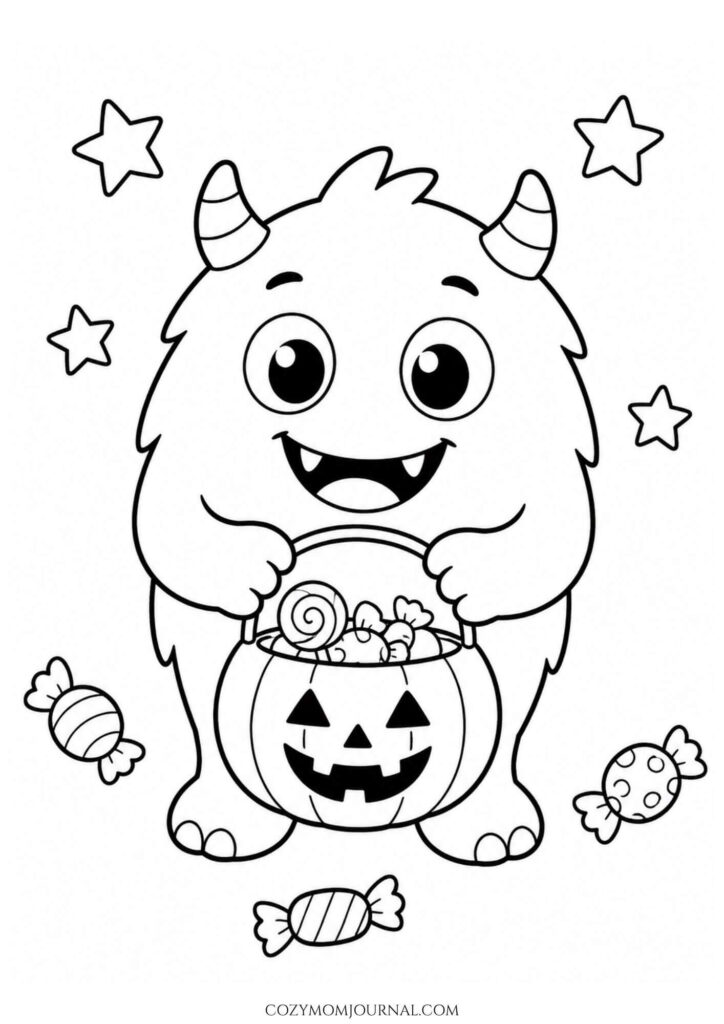
This cheerful little monster looks completely ready for trick-or-treating, complete with striped horns, tiny fangs, and a pumpkin bucket overflowing with sweets. The scattered candy pieces and stars keep the page playful, while the big open shapes make it easy to experiment with bold Halloween colors.
Because the character takes up most of the page, this one is especially fun for practicing simple shading and color combinations without having to work around lots of tiny details.
Color palette ideas:
- Try lime green, purple, bright blue, or soft teal for the monster’s fur.
- Color the striped horns in alternating shades such as orange and purple, or pink and yellow for a less traditional look.
- A classic orange jack-o’-lantern bucket works perfectly, but black, purple, or even mint can make it feel more unique.
Make the candy stand out:
- Give each piece a different wrapper combination so the bottom of the page feels colorful and lively.
- Use brighter shades for the lollipop and wrapped candies than you use on the monster.
- For the sweets inside the bucket, mix warm and cool colors instead of sticking to one palette.
Helpful coloring tips:
- Add a slightly darker shade along the monster’s outer edges to suggest fluffy fur without drawing extra lines.
- Keep the area around the eyes a little lighter so the face stays expressive.
- If you’re coloring with markers, choose one or two main colors for the monster first, then use the candy as your chance to bring in lots of extra shades.
6. Witchy Pumpkin With a Peekaboo Ghost
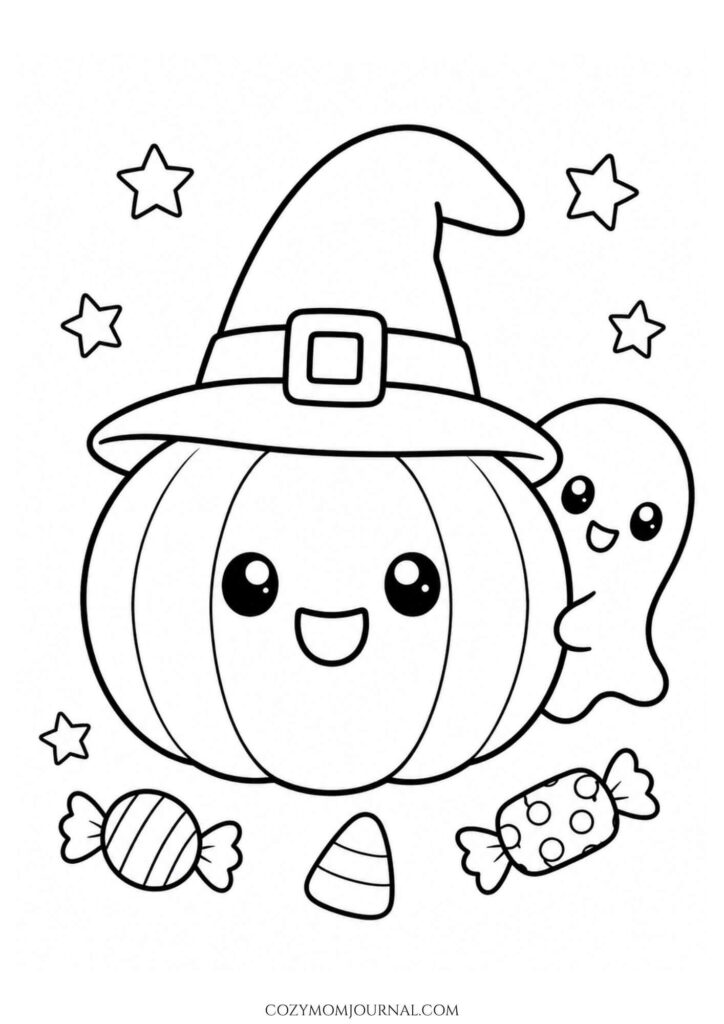
A cheerful pumpkin in an oversized witch hat takes center stage here, while a tiny ghost peeks out from behind it like it’s joining the Halloween fun. The scattered stars, wrapped candies, and candy corn keep the scene festive without making it feel crowded.
This one is especially nice for playing with contrasting colors because the pumpkin, hat, ghost, and sweets can all have their own little palette.
Color palette ideas:
- Try a warm orange pumpkin with a deep purple or black witch hat for a classic Halloween combination.
- Make the hatband stand out with gold, mustard yellow, or bright green.
- Keep the ghost white, then add very soft blue-gray or lavender shading along one side for a little dimension.
Details worth having fun with:
- Use three different shades on the candy corn instead of leaving it strictly traditional.
- Give each wrapped candy its own pattern and color combination.
- The stars could be yellow, gold, pale orange, or even alternating pastel shades.
Helpful coloring tips:
- Shade each pumpkin section slightly darker near the curved dividing lines to make the pumpkin look rounder.
- If you’re using colored pencils, layer a lighter orange first and add deeper orange near the edges rather than pressing hard right away.
- Keep the ghost lighter than everything around it so the peekaboo effect stays easy to notice.
7. Adorable Pumpkin Pair Holding Hands
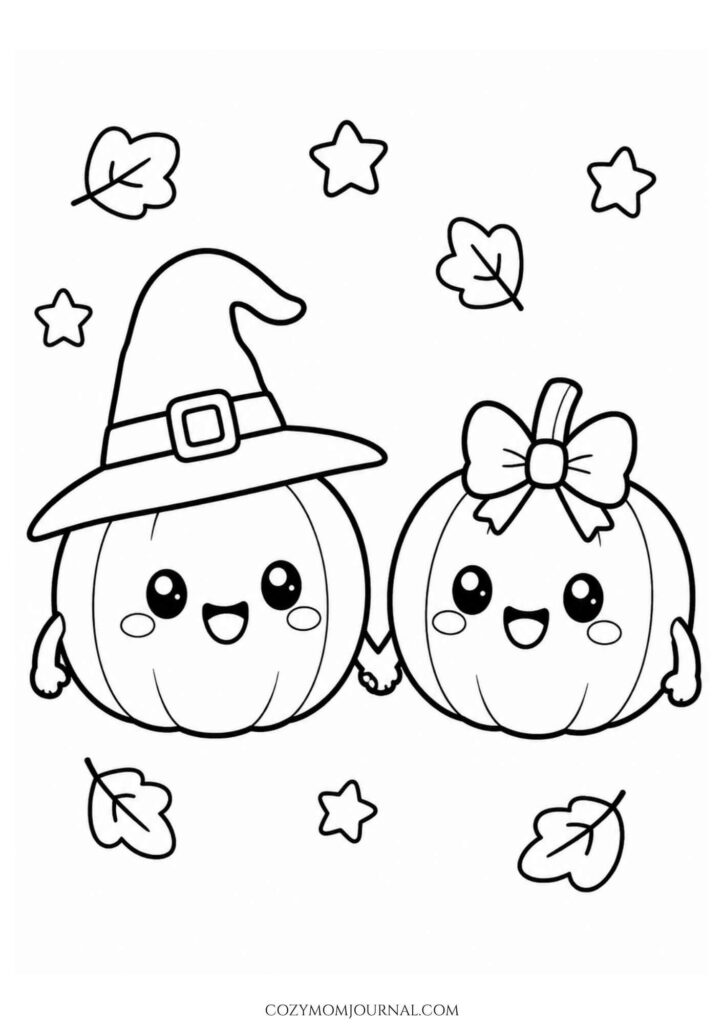
This sweet little duo brings a softer side of Halloween to the page. One pumpkin wears a witch hat, the other has a cute bow, and together they create a playful fall scene that feels festive, friendly, and full of charm.
The floating stars and scattered leaves add just enough extra detail to make the page feel lively without making it hard to color. It’s a lovely choice if you want a design that leans more cozy-cute than spooky.
Color ideas to explore:
- Keep both pumpkins classic orange, or give them different shades like peach and golden orange so they stand apart.
- Try black or purple for the witch hat, then use pink, coral, or lavender for the bow.
- Autumn leaves look great in warm tones like mustard, rust, red-orange, and brown.
Easy ways to make it look extra cute:
- Add soft pink blush to both pumpkin cheeks for a cheerful kawaii look.
- Use a slightly darker orange along the pumpkin grooves to give each one more shape.
- Color the stars in yellow or gold to brighten the whole page.
Helpful coloring tips:
- If you want the two pumpkins to feel connected, repeat one accent color in both designs, like the same cheek color or stem shade.
- A pale cream, light blue, or very soft gray background can help the characters stand out while keeping the page gentle and clean.
- This page would also be fun with glitter gel pen accents on the stars or bow if you want a more decorative finish.
8. Little Witch Cat With a Pumpkin
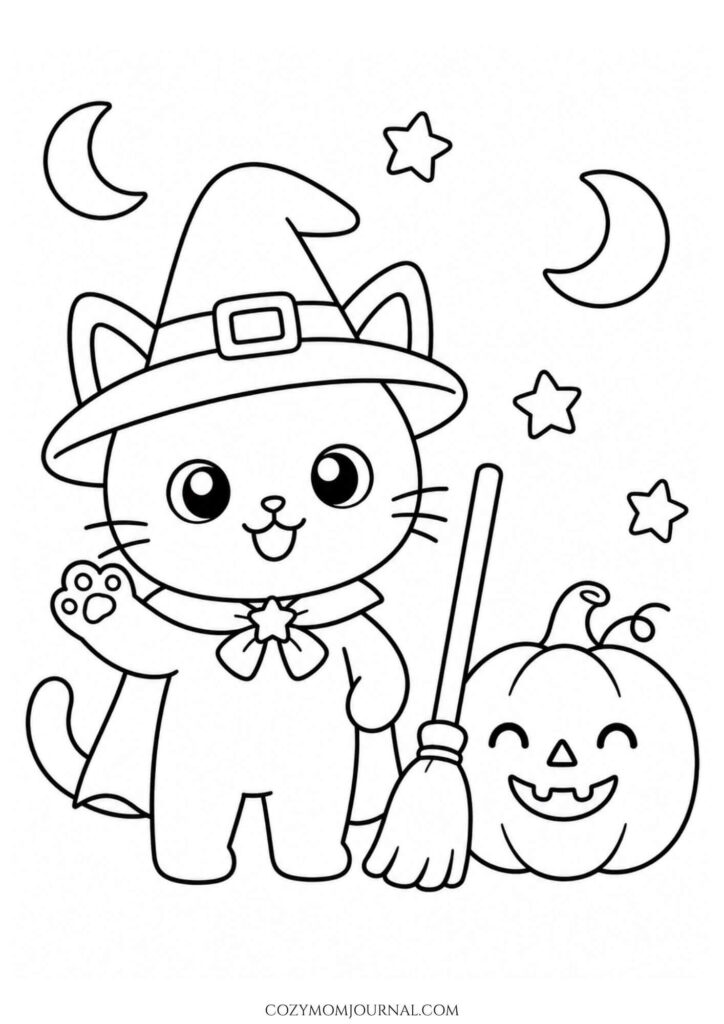
A tiny cat dressed as a witch makes this page especially fun for anyone who loves cute Halloween animals. The broom, smiling pumpkin, crescent moons, and scattered stars give the scene a magical nighttime feel while still keeping everything simple and easy to color.
There’s a nice balance between larger areas, like the cat and pumpkin, and smaller accents you can use for pops of color.
Color palette ideas:
- Try a black, gray, cream, or orange cat, then use a contrasting shade for the cape and witch hat.
- Purple, deep blue, or classic black work beautifully for the hat, especially with a gold or yellow buckle.
- Keep the pumpkin traditional with warm orange, or try pale peach for a softer autumn look.
Creative details to try:
- Give the little bow or collar a bright accent color such as teal, pink, or red.
- Use golden yellow for the moons and stars to make the background feel warm and magical.
- The broom can look great with a tan handle and golden-brown bristles.
Helpful coloring tips:
- If the cat is dark, keep the cape a little lighter so the outline and body details don’t disappear.
- Add slightly darker shading around the pumpkin grooves to make it look round and full.
- For a nighttime finish, lightly shade the empty background in pale lavender or blue while leaving a soft white halo around the cat and pumpkin.
9. Little Witch Flying With Her Cat
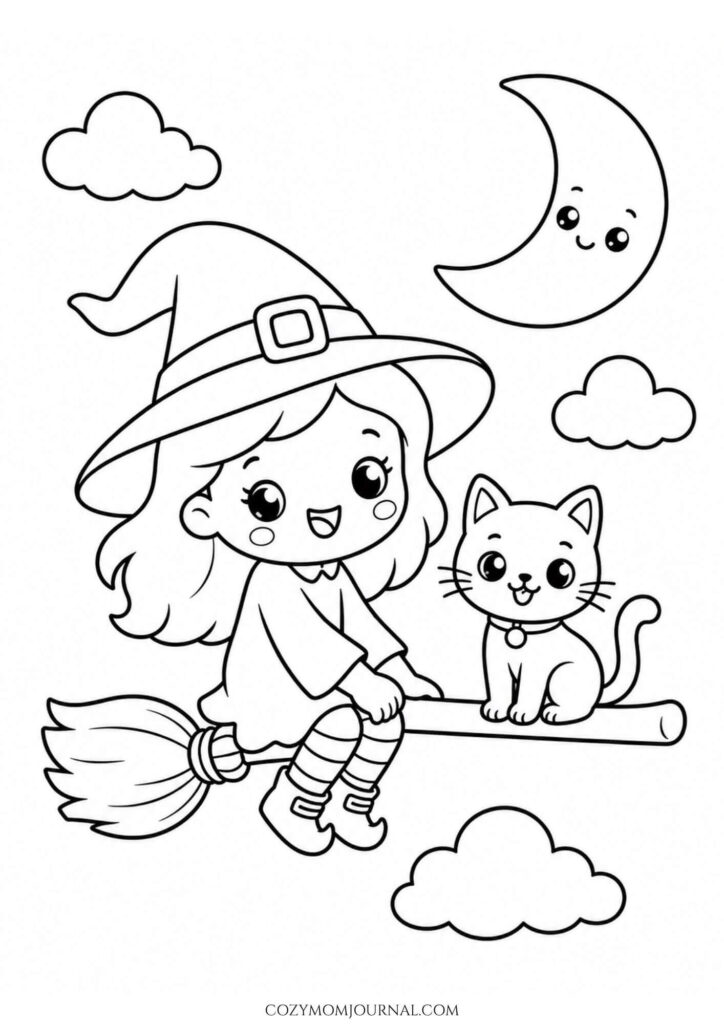
A young witch and her tiny cat soaring together on a broom gives this page a playful storybook feel. The smiling moon and fluffy clouds keep the scene soft and magical, so it works beautifully for anyone who prefers cute Halloween designs over anything too spooky.
There are plenty of fun places to mix colors here, especially in the witch’s outfit, striped socks, broom, and the cat’s collar.
Color palette ideas:
- Try a deep purple or navy witch hat with a lighter lavender dress for a classic magical look.
- Use alternating colors on the striped socks, like orange and purple, pink and black, or teal and yellow.
- The cat could be black, gray, cream, or ginger depending on how traditional or playful you want the scene to feel.
Creative details to add:
- Color the moon a warm buttery yellow and keep the clouds pale blue or soft gray.
- Give the cat’s collar a bright accent shade that also appears somewhere in the witch’s outfit.
- Use warm brown and golden tan shades on the broom for a cozy fall touch.
Helpful coloring tips:
- Since the characters sit in the center, keep the sky fairly light so their outlines stay crisp.
- Add gentle shading under the witch’s hat brim and beneath the cat to create a little more depth.
- For extra movement, softly blend blue or lavender around the broom to suggest a nighttime sky without filling every inch of the background.
10. Cheerful Skeleton With a Pumpkin and Ghost
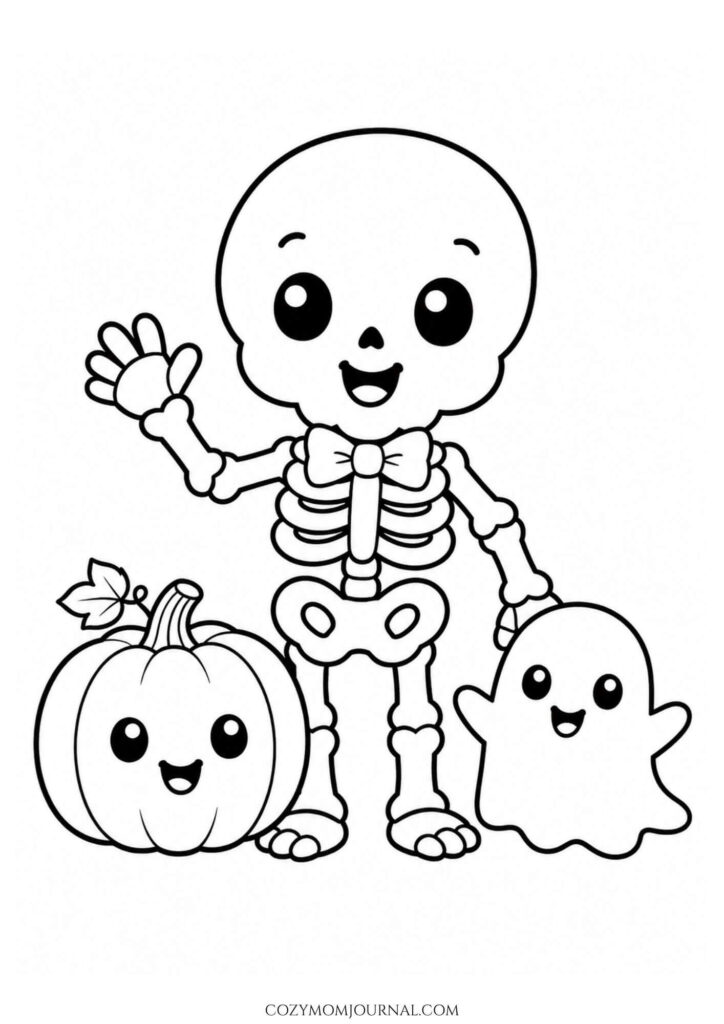
This friendly skeleton looks ready for Halloween fun rather than a scare, especially with its bow tie, waving hand, smiling pumpkin, and tiny ghost companion. The simple shapes make the page easy to approach, but there are still enough details to create a really fun finished look.
It’s a great design for experimenting with contrast, since the pale skeleton can stand out beautifully against stronger fall colors.
Color palette ideas:
- Keep the bones white or ivory, then add light gray or pale blue shading between the joints for a little depth.
- Try a bright orange pumpkin with a green or brown stem and leaf.
- The ghost can stay mostly white, with just a hint of lavender or cool gray around the edges.
Fun details to try:
- Make the bow tie the brightest accent on the page with purple, red, teal, or orange.
- Add soft pink or peach inside the skeleton’s cheeks if you want an extra cute look.
- A few warm brown or rusty orange tones on the pumpkin leaf can give the scene more of an autumn feel.
Helpful coloring tips:
- Avoid heavy shading on the skeleton’s face so the expression stays light and cheerful.
- Use a slightly darker gray behind the ribs and around the pelvis if you want the bone shapes to stand out more clearly.
- If you add a background, pale purple or muted blue works nicely because it gives the white skeleton and ghost more contrast without making the page too dark.
11. Trick-or-Treat Ghost With a Pumpkin Bucket
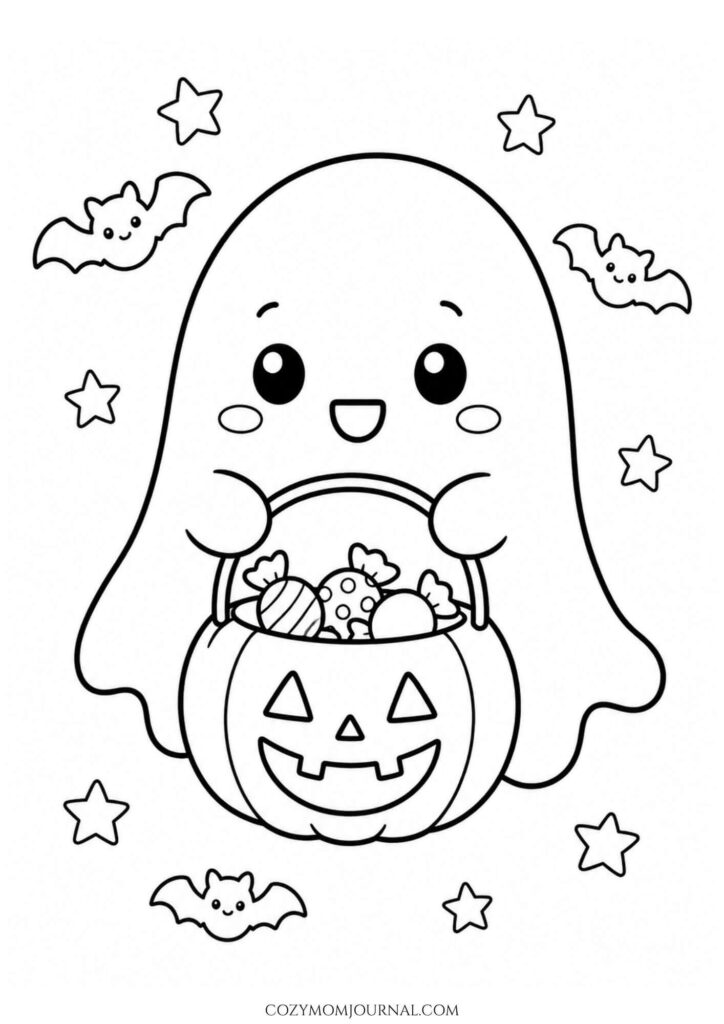
This happy little ghost is ready for a successful night of trick-or-treating, carrying a jack-o’-lantern bucket filled with candy while tiny bats and stars float around the scene. The large ghost shape keeps the page simple, while the candy gives you a few smaller details to play with.
A mix of soft spooky shades and brighter candy colors works especially well here, since the bucket naturally becomes the main pop of color.
Color palette ideas:
- Leave the ghost mostly white, then add pale blue, lavender, or cool gray near the lower edges for gentle shading.
- Make the pumpkin bucket a rich orange with darker orange along the curved sections.
- Try purple, charcoal, or navy for the bats, and warm yellow for the stars.
Make the candy more playful:
- Give every piece a different wrapper so the bucket looks full and colorful.
- Mix stripes, dots, and solid colors rather than using the same treatment on every sweet.
- Bright pink, turquoise, yellow, and lime green can add a fun contrast to the classic Halloween orange.
Helpful coloring tips:
- Keep the shading on the ghost very light so it still feels airy and bright.
- Add a little blush to the cheeks if you want to make the expression even sweeter.
- For extra depth, darken the inside rim of the candy bucket slightly so the treats look like they’re actually sitting inside it.
12. Happy Haunted House With Friendly Ghosts
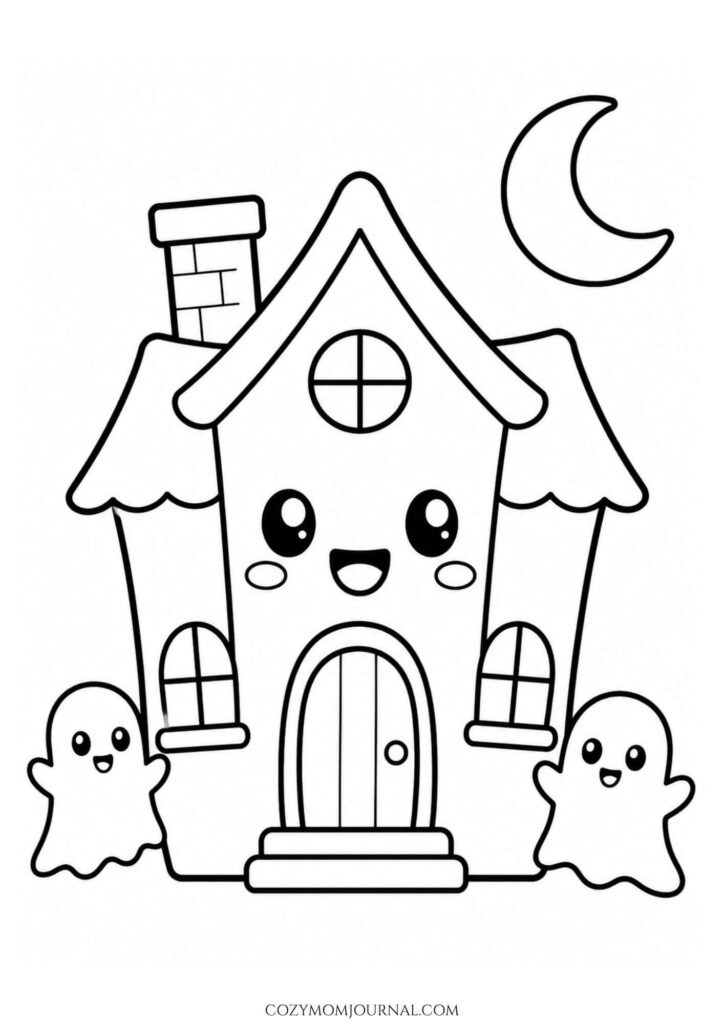
This little haunted house is much more welcoming than spooky, with a smiling face, rounded windows, and two cheerful ghosts keeping it company. The crescent moon adds just enough nighttime atmosphere while the simple architecture leaves plenty of space for bold, easy coloring.
It’s a fun page for creating your own Halloween house palette, especially if you want something different from the usual orange-and-black combination.
Color palette ideas:
- Try deep purple, dusty blue, charcoal, or even muted teal for the house walls.
- Use a darker shade on the roof so the windows and front door stand out more clearly.
- The moon can be pale yellow, cream, or soft gold for a warm glow against cooler house colors.
Details to play with:
- Color the door a contrasting shade such as burgundy, orange, or forest green.
- Give the chimney bricks two or three slightly different tones to make them look less flat.
- Keep the ghosts white, but add a faint blue-gray shadow near their lower edges.
Helpful coloring tips:
- Color the window panes in warm yellow or light orange to make it look like the house is glowing from inside.
- A little darker shading beneath the roof edges can create depth without making the design more complicated.
- For a nighttime scene, fill the background with navy, purple, or muted blue and leave a lighter area around the moon for a simple glow effect.
13. Two Cute Bats Hanging Under the Moon
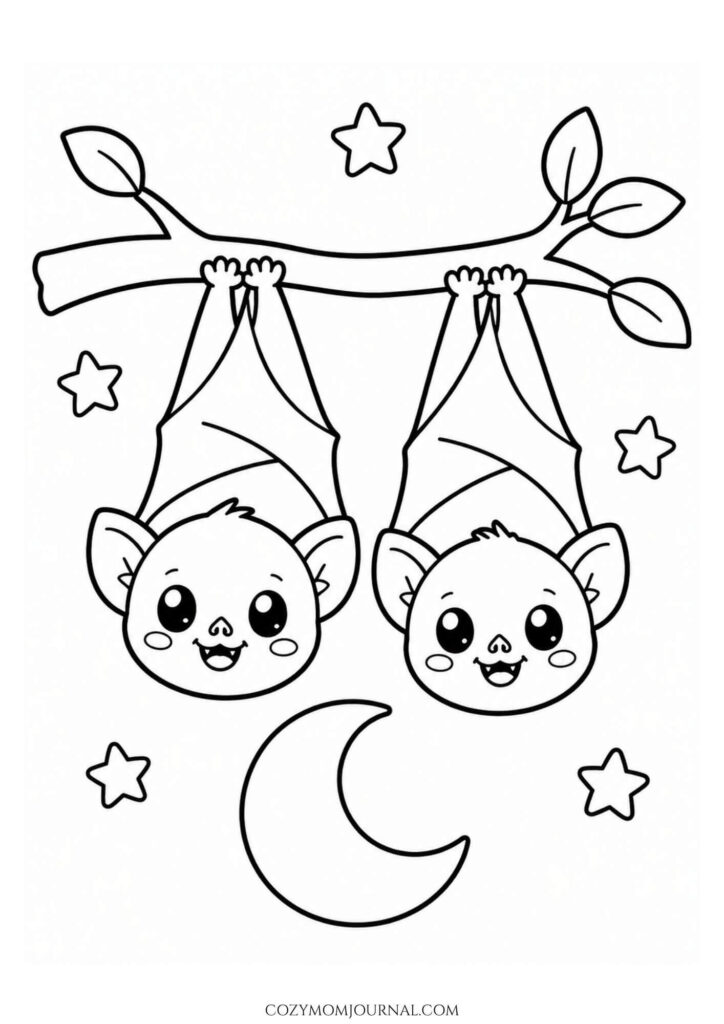
These upside-down little bats turn a classic spooky symbol into something completely adorable. Hanging side by side from a leafy branch, they create a sweet nighttime scene with the crescent moon and scattered stars adding just enough Halloween atmosphere.
This design is especially fun if you want to play with darker shades without making the finished page feel too heavy.
Color palette ideas:
- Try charcoal gray, deep purple, midnight blue, or soft brown for the bats.
- Use a slightly lighter shade inside the wings and ears so those details stay visible.
- The branch can be warm brown with olive, rust, or golden leaves for a subtle fall touch.
Creative details to try:
- Add pink or peach to the bats’ cheeks to keep the look playful.
- Color the moon pale yellow or cream, then use brighter yellow on the stars so they don’t all blend together.
- You could even make the two bats different colors, like one purple and one dark blue, for a more whimsical result.
Helpful coloring tips:
- If you choose very dark colors for the bats, leave small highlights or lighter areas around the faces so their expressions remain clear.
- Colored pencils work well here because you can build soft gradients across the wings without covering the line art.
- For a cozy night-sky effect, lightly shade the background in blue or lavender and keep the area closest to the moon a little lighter.
14. Cute Halloween Crew With a Ghost, Bat, Cat, and Pumpkin
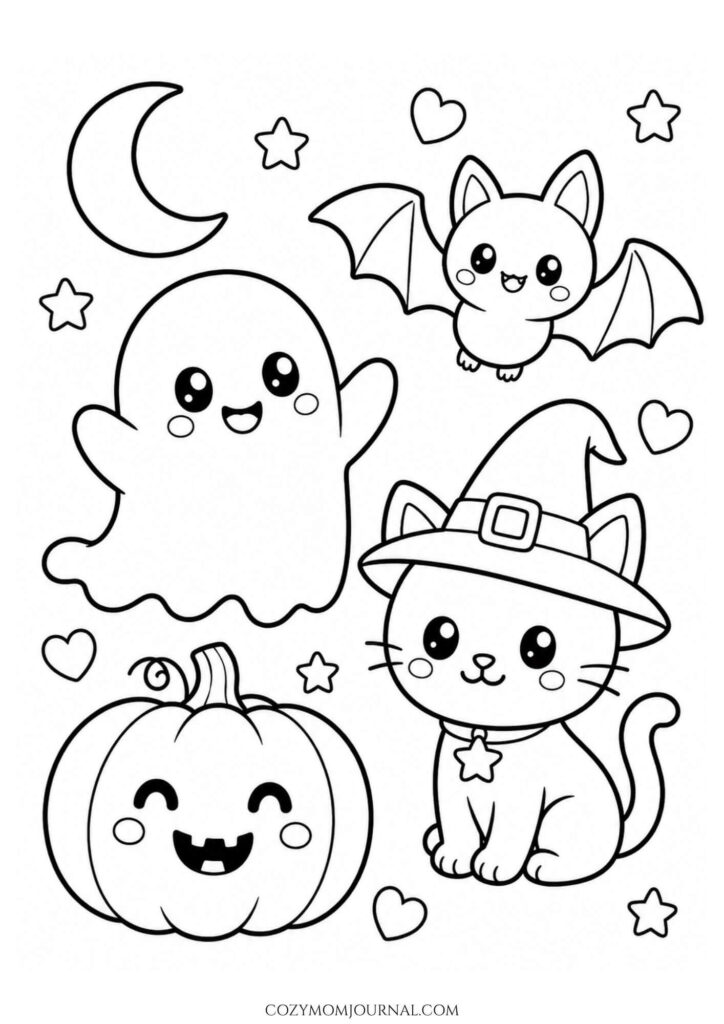
This page brings several favorite Halloween characters together in one cheerful little group. A waving ghost, tiny flying bat, witchy cat, and smiling pumpkin make the scene feel playful and lively, while the moon, stars, and hearts add a softer magical touch.
Because each character has its own space, you can give every one a different color scheme without the page starting to feel too busy.
Color palette ideas:
- Keep the ghost mostly white with pale lavender or blue-gray shading.
- Try deep purple, black, or charcoal for the witch hat, paired with a brighter buckle or band.
- The pumpkin can be warm orange, peach, or even soft yellow for a cozy variation.
- Give the bat a darker shade than the cat so the two characters don’t blend together.
Fun details to try:
- Use the hearts as little pops of pink, coral, or red among the darker Halloween shades.
- Color the cat’s collar charm in gold or yellow so it becomes a tiny focal point.
- The moon can stay soft cream or buttery yellow, while the stars use a slightly brighter shade.
Helpful coloring tips:
- Pick three or four main colors first, then repeat them across the characters to make the finished page feel coordinated.
- Add light shading along the pumpkin grooves and underneath the witch hat brim for easy depth.
- If you want a fuller nighttime look, use a pale blue or lavender background and keep small white spaces around the characters so they still stand out clearly.
15. Happy Mummy With Two Pumpkins and a Ghost
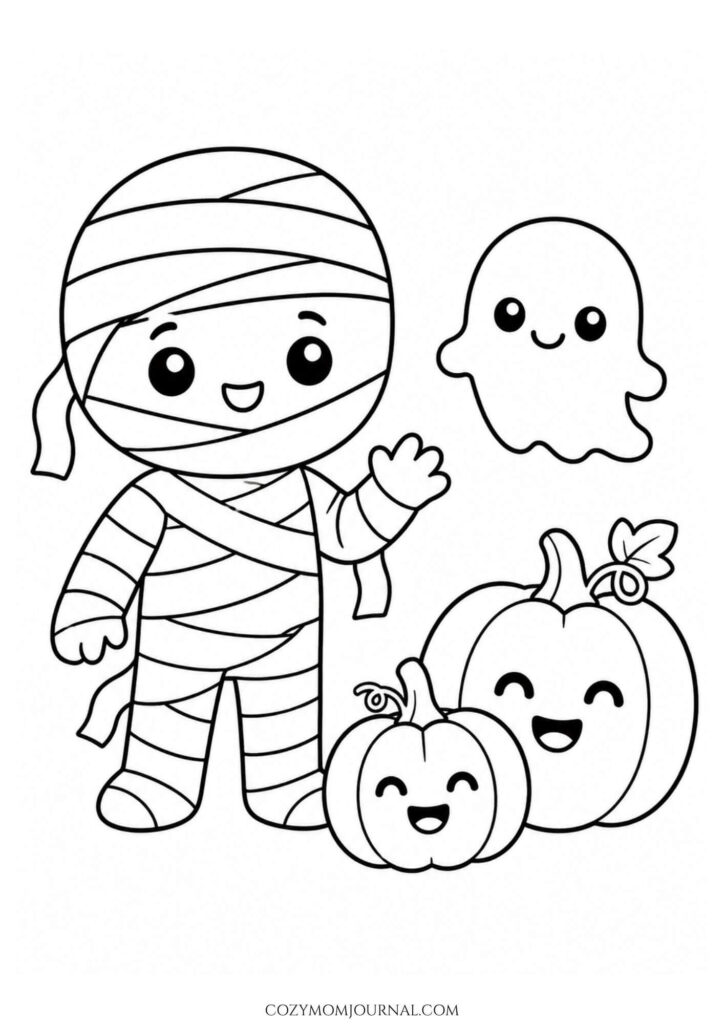
This smiling mummy turns a classic Halloween character into something friendly and fun. With a tiny ghost floating nearby and two cheerful pumpkins at its feet, the page has plenty of seasonal charm without feeling scary or overly detailed.
The bandages are the best part to experiment with because they give you lots of room for subtle shading, stripes, or even a slightly aged look.
Color palette ideas:
- Keep the mummy wraps ivory, cream, or very light gray instead of plain white for a warmer finish.
- Use two different pumpkin shades, such as bright orange and golden yellow, to separate the larger and smaller pumpkin.
- Add pale blue, lavender, or cool gray around the ghost’s edges so it doesn’t disappear into the background.
Creative details to try:
- Shade beneath overlapping bandages with a slightly darker beige or gray to make the layers look more dimensional.
- Give the pumpkin leaves muted green, olive, or rusty fall tones.
- A few soft peach or pink accents on the faces can make the whole group feel even cuter.
Helpful coloring tips:
- Follow the direction of each bandage strip when shading rather than coloring the mummy as one solid shape.
- Leave the centers of the wraps lighter and darken only the edges for an easy rounded effect.
- If you want a little more atmosphere, add a very pale dusty purple or warm beige background while keeping the ghost area lighter for contrast.
16. Bubbling Magic Cauldron Under the Moon
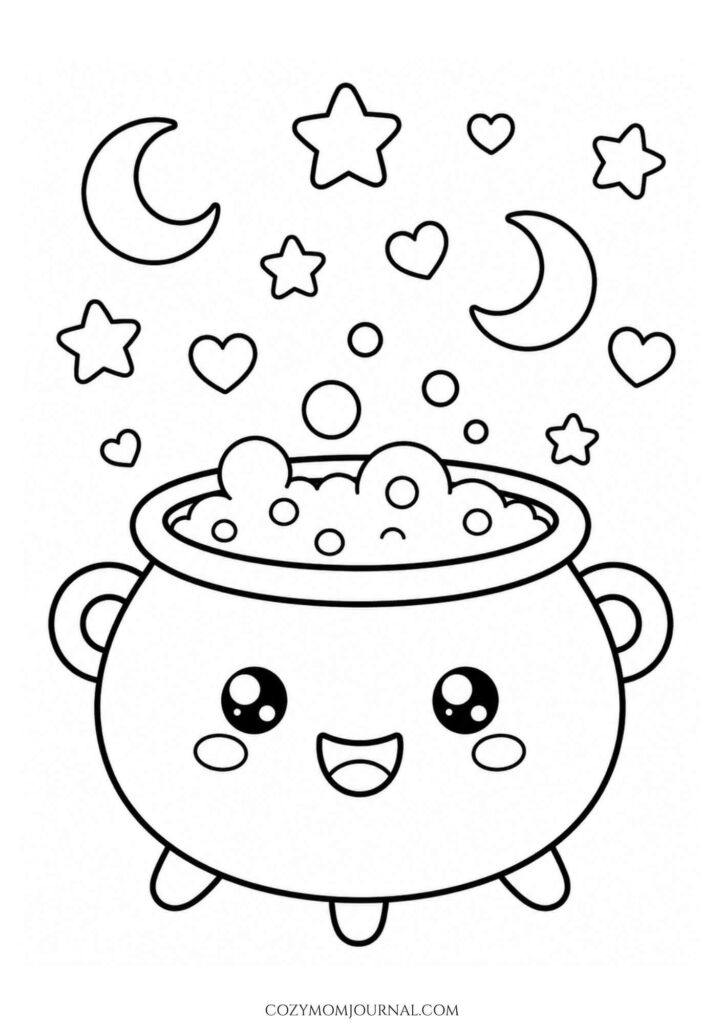
A smiling cauldron filled with bubbling potion makes this page feel playful, magical, and just a little witchy. The floating bubbles, hearts, stars, and crescent moons create a fun spell-making atmosphere without making the design too busy.
This one is great for experimenting with bright potion colors, because the liquid can become the main focal point while the cauldron stays darker and more grounded.
Color palette ideas:
- Try black, charcoal, deep purple, or dark teal for the cauldron.
- Make the potion bright green, pink, turquoise, or purple for a fun magical effect.
- Use pale yellow or gold for the moons and stars, then add pink or coral to the hearts.
Creative details to try:
- Color the bubbles in slightly different shades so they look like they’re catching the light.
- Add a lighter rim around the potion surface to make it feel like it’s glowing.
- For a sweeter look, use soft pastel shades instead of traditional Halloween colors.
Helpful coloring tips:
- Keep the cauldron darker than the potion so the bubbling mixture really stands out.
- If you’re using colored pencils, blend a lighter shade into the center of each bubble and a darker shade around the edge.
- A pale lavender or midnight-blue background can make the moons, stars, and glowing potion feel even more magical.
17. Sweet Halloween Candy Trio With Tiny Bats
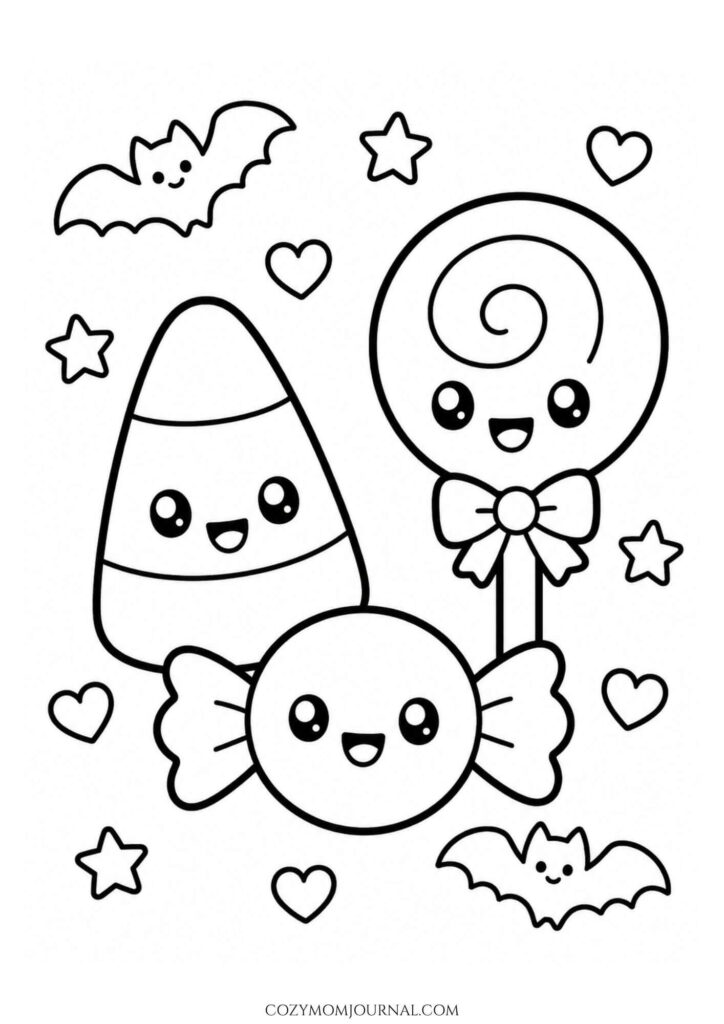
Candy corn, a swirly lollipop, and a wrapped candy all get adorable smiling faces in this cheerful Halloween design. The little bats, stars, and hearts make the page feel festive and playful, while the simple shapes leave plenty of room for bold color choices.
This is a fun one for trying brighter shades than you might normally use on a spooky page, especially because the candy pieces can each have their own personality.
Color palette ideas:
- Keep the candy corn classic with yellow, orange, and white, or try a pastel version with peach, lavender, and cream.
- Use two or three shades on the lollipop swirl for a fun candy-shop effect.
- The wrapped candy looks great in pink, teal, purple, or red with contrasting wrapper ends.
Creative details to try:
- Color the bats deep purple, charcoal, or navy so they frame the sweeter candy colors nicely.
- Use yellow or gold for the stars and soft pink for the hearts to keep the page cheerful.
- Add tiny blush marks to the candy faces if you want an even cuter finish.
Helpful coloring tips:
- Use smooth, even strokes on the larger candy shapes so the colors look clean and bright.
- For the lollipop, follow the spiral with your coloring direction to make the swirl feel more dynamic.
- If you want the candy to look glossy, leave a small lighter area on one side or add a white gel pen highlight after everything is dry.
18. Witch Cat Peeking From a Jack-o’-Lantern
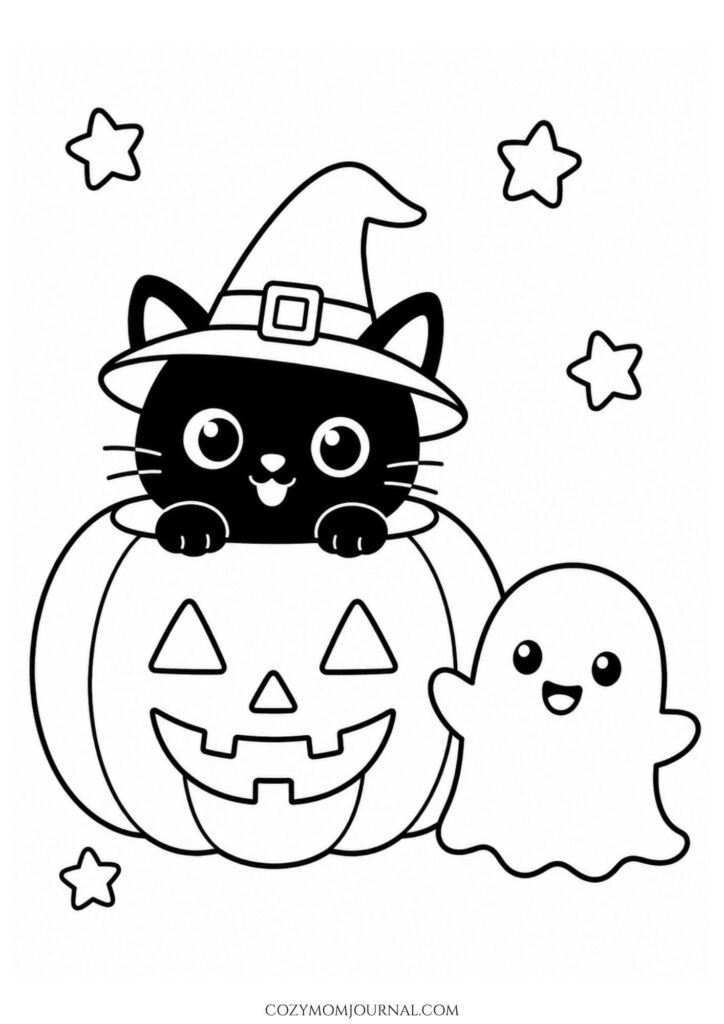
A curious black cat popping out of a giant jack-o’-lantern gives this page a fun Halloween surprise. The oversized pumpkin, witch hat, friendly ghost, and scattered stars create a classic spooky-season scene, but everything still feels playful and sweet.
Since the cat is already a strong dark focal point, this page works best when the surrounding colors stay bright enough to create contrast.
Color palette ideas:
- Use rich orange for the pumpkin, with a darker burnt orange along the grooves.
- Try purple, plum, or deep teal for the witch hat so it stands apart from the black cat.
- Keep the ghost white with soft blue-gray or lavender shading near the edges.
- Color the stars yellow, gold, or pale orange for a warm glow.
Creative details to try:
- Add a bright hatband in lime green, pink, or orange for an extra pop of color.
- Use a deeper shade inside the jack-o’-lantern face to make the carved features look more dimensional.
- A little rosy blush on the ghost can soften the scene even more.
Helpful coloring tips:
- Because the cat is already black, avoid using too many other very dark colors right beside it.
- Shade the pumpkin more heavily near the bottom and between the sections to help it look round.
- If you want the jack-o’-lantern to look lit from within, fill the eyes and mouth with warm yellow and blend a little pale orange around the openings.
19. Sweet Ghost Hugging a Happy Pumpkin
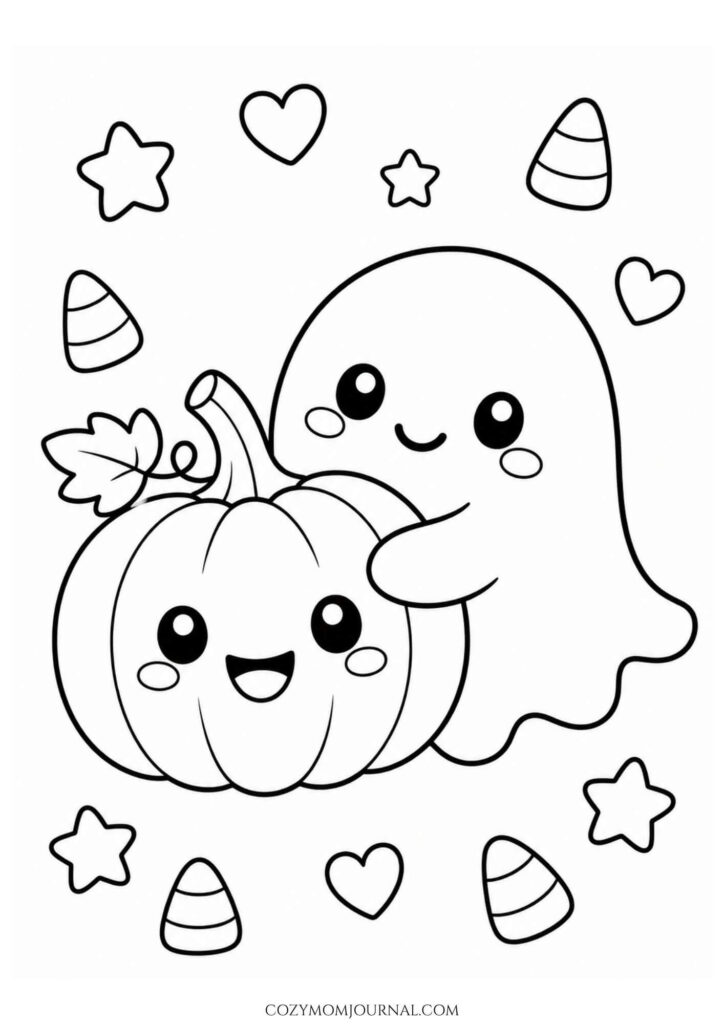
A cuddly ghost wrapping its arms around a smiling pumpkin makes this page feel more cozy than spooky. Candy corn, hearts, and stars float around the pair, giving the scene a playful Halloween feel without adding too many tiny details.
The large pumpkin and ghost shapes make this one especially relaxing to color, and it’s easy to create a coordinated palette with just a few favorite shades.
Color palette ideas:
- Use a warm orange or soft peach for the pumpkin, with a brown or muted green stem.
- Keep the ghost mostly white and add pale lavender, blue-gray, or blush shading along the outer edges.
- Try traditional yellow, orange, and white for the candy corn, or switch to pastel colors for a sweeter look.
Creative details to try:
- Color the hearts in pink, coral, or red to make the hug feel even more cheerful.
- Give the leaf a fall shade such as olive green, mustard, or rusty orange.
- Use gold or buttery yellow for the stars to brighten the white space around the characters.
Helpful coloring tips:
- Add a slightly darker shade where the ghost’s arms overlap the pumpkin to create an easy sense of depth.
- Shade along the pumpkin grooves instead of coloring each section completely flat.
- If you’re using markers, finish the smaller candy corn pieces first so you can test your color combination before using it elsewhere on the page.
20. Three Happy Ghosts Under the Moon and Stars
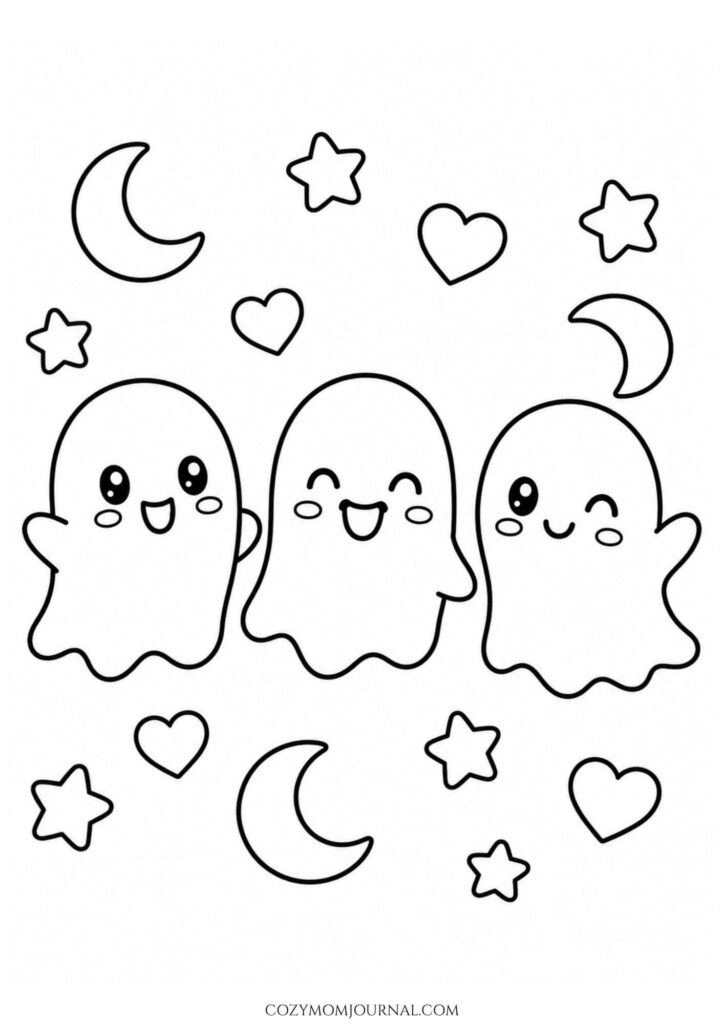
Three cheerful little ghosts make this page feel like a tiny Halloween friendship scene. Their different expressions give each one a bit of personality, while the crescent moons, stars, and hearts keep the background playful and magical.
Because the shapes are large and simple, this is a relaxing page for experimenting with soft shading rather than lots of tiny details.
Color palette ideas:
- Keep the ghosts white and give each one a different subtle shadow color, such as pale blue, lavender, and soft gray.
- Use buttery yellow or warm gold for the moons and stars.
- Add pink, coral, or peach to the hearts and cheeks for a sweeter look.
Creative details to try:
- Give each ghost a slightly different color accent so they feel like three separate characters.
- Use a darker shade near the bottom edges of the ghosts to make them look more dimensional.
- Alternate the star colors between yellow and pale orange instead of coloring every one exactly the same.
Helpful coloring tips:
- Leave the center of each ghost lighter and build color gradually around the outer edges.
- If you want a nighttime background, try a very light blue or lavender so the white ghosts still stand out clearly.
- Colored pencils work especially well for this page because they make it easy to create soft shadows without losing the clean, cute look.
21. Adorable Little Bat Under a Smiling Moon
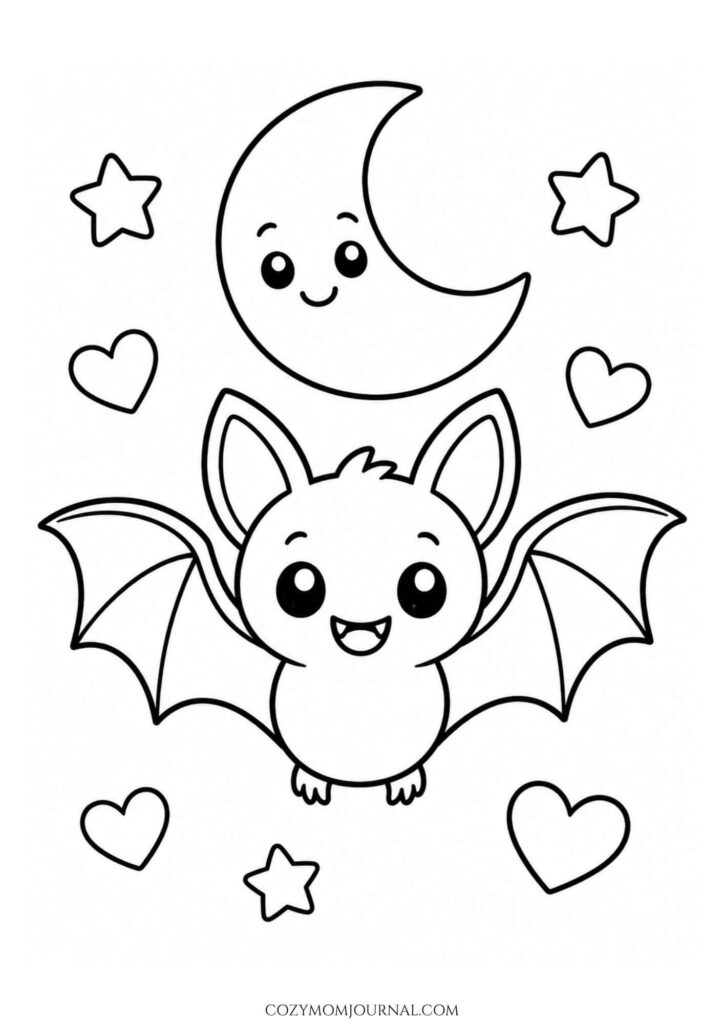
This cute little bat has such a cheerful expression that it feels more sweet than spooky. With a smiling crescent moon, tiny stars, and hearts all around, the page has a soft nighttime mood that still feels light, playful, and very beginner-friendly.
It’s a lovely choice if you enjoy simple Halloween characters with lots of room for shading. The wide wings make this design especially fun for blending colors and creating a gentle glowing sky around the bat.
Color palette ideas:
- Try charcoal gray, deep purple, midnight blue, or warm brown for the bat.
- Use a slightly lighter shade inside the ears and wings so those shapes stand out more clearly.
- The moon looks lovely in buttery yellow, pale cream, or soft gold.
Fun details to play with:
- Add pink or peach blush to the bat’s cheeks for an extra kawaii touch.
- Color the hearts in pink, coral, or red to warm up the whole page.
- Alternate the stars between yellow and pale orange if you want a little more variety.
Helpful coloring tips:
- Blend a darker shade along the outer edges of the wings and keep the middle lighter for a soft dimensional effect.
- If you color the bat in a dark tone, leave small highlight areas near the face so the expression stays bright and easy to see.
- A pale lavender, dusty blue, or soft gray background can make the moon and bat pop without overpowering the simple design.
Before You Start Coloring: A Few Tricks That Make It Easier
Have you ever picked the perfect colors in your head, started filling in the page, and then realized they don’t look quite as good together on paper? I have definitely had that well, we’re committed now moment.
A tiny bit of planning can make coloring much more relaxing, especially when you’re working with markers or trying a palette you haven’t used before.
A few things I like to do before I start:
- Choose three to five main colors first. You don’t need a different shade for every star, heart, pumpkin, and candy wrapper. Repeating a few colors makes the finished page look much more put together.
- Test your supplies on scrap paper. Marker caps are occasionally tiny liars, so check the actual color before using it on an important part of the picture.
- Put another sheet of paper underneath when using markers. This helps protect your table and the next page if the ink bleeds through.
- Start with the biggest shapes. Once you decide on the pumpkin, ghost, bat, or witch hat, choosing colors for the smaller details becomes much easier.
- Save your darkest shades for the end. It’s easier to add another layer than to rescue an area that suddenly became much darker than you wanted.
You also don’t need expensive art supplies. Crayons are perfect for big open spaces, colored pencils make soft shading easy, and markers are wonderful when you want bold, saturated Halloween colors.
Use what you already enjoy using.
Stuck Choosing Colors? Try One of These Halloween Palettes
One of the most common problems with a blank coloring page isn’t actually coloring it. It’s staring at it for five minutes wondering which color should go first.
When that happens, I stop trying to choose every color individually and pick a small palette instead.
For a classic Halloween look, try black, pumpkin orange, deep purple, golden yellow, and a touch of green.
For something cute and pastel, I love combinations like lavender, peach, blush pink, mint, and buttery yellow. A ghost shaded with pale lavender next to a peach pumpkin can look ridiculously cute.
Want something a little moodier? Try midnight blue, plum, muted orange, warm gray, and gold. This works especially well for the bats, moons, witch hats, and nighttime scenes in this collection.
You can even make several of these coloring sheets using the same palette. They’ll feel like a coordinated little Halloween set when you’re finished.
How to Shade Ghosts Without Turning Them Gray
Ghosts look wonderfully easy until you realize that most of the character is supposed to be white.
You absolutely can leave them completely white, especially if younger children are coloring the pages. But if you want them to stand out from the background, a tiny bit of shading makes a surprisingly big difference.
Instead of coloring the entire ghost, lightly add pale blue, lavender, cool gray, or even blush pink along the edges. Keep the center mostly white and gradually fade your shading inward.
This gives the ghost shape and dimension while still keeping that bright, floaty appearance.
And if your ghost ends up slightly purple? Congratulations. You have invented a purple ghost. Halloween can handle it.
Give Those Pumpkins a Little More Dimension
There are quite a few pumpkins hiding throughout these cute spooky coloring pages, so this is one trick you can reuse again and again.
Color the pumpkin with your main orange, peach, yellow, or pink shade first. Then take a slightly darker version of that color and add it beside the curved lines that divide the pumpkin into sections.
You don’t need elaborate blending. Even a small amount of darker color along those grooves makes the pumpkin look rounder instead of completely flat.
For the stems and leaves, I like using olive green, warm brown, mustard, or muted forest green rather than very bright greens. Those slightly softer shades instantly make the page feel more autumnal.
What If Your Coloring Page Starts Looking Too Busy?
This happens surprisingly easily with Halloween designs because you suddenly have pumpkins, candy, stars, hearts, bats, moons, and five other things all competing for attention.
The easiest fix is repetition.
Choose one accent color and use it several times throughout the page. If the witch hat has a pink band, for example, repeat that pink in a heart, a candy wrapper, or someone’s cheeks.
Then let a few tiny elements stay neutral.
You really don’t have to give every object its own dramatic color moment. Sometimes the best thing you can do for a coloring page is allow one adorable pumpkin to be the star of the show.
Markers, Colored Pencils, or Crayons?
There’s no single “best” choice for these coloring sheets—it depends on the finish you want.
Markers work beautifully for bold pumpkins, candies, witch hats, and simple characters. Just remember to put scrap paper underneath the printable in case the ink bleeds.
Colored pencils are my favorite when I want softer shadows. They make it much easier to shade ghost edges, bat wings, pumpkin grooves, moons, and nighttime backgrounds gradually.
Crayons are especially useful for younger colorists because many of these designs have thick outlines and large open sections. They’re forgiving, quick, and perfect when the goal is simply to have fun rather than create a masterpiece worthy of a museum wall.
You can also mix supplies. A marker base with colored-pencil shading on top can create a really pretty finish without requiring complicated techniques.
Don’t Forget the Background
Leaving the background white is completely fine, and sometimes I actually prefer it. It keeps these cute characters looking clean and bright.
But if your finished page feels like it needs something, the background is an easy place to add atmosphere.
Try softly filling the empty space with pale lavender, dusty blue, or light gray. You can also create a darker nighttime sky and leave a lighter halo around ghosts, moons, and stars.
Another easy option is to add your own tiny details. A few dots, sparkles, mini stars, swirls, or little fall leaves can make the design feel more personal without turning it into an afternoon-long art project.
Make Your Coloring Time Feel Like a Tiny Halloween Ritual
You don’t need an elaborate setup for coloring to feel special.
I love the idea of printing a few pages, making something warm to drink, putting on a cozy fall playlist or a favorite Halloween movie, and spending half an hour making something purely because it’s fun.
Creative time doesn’t always have to produce something useful.
Sometimes coloring a smiling ghost pale lavender while eating a snack is a perfectly respectable plan for the evening.
If you have children coloring alongside you, let them choose your colors occasionally. There is an excellent chance your pumpkin will become blue, your bat will become pink, and your carefully planned palette will immediately collapse—but that’s often the fun part.
Looking for More Coloring Pages?
If you’ve made it through these 21 pages and your colored pencils are somehow still willing to cooperate, there are plenty more designs waiting for you.
For more seasonal fun, head over to my Halloween Coloring Pages. They’re perfect when you want to keep that spooky-season creativity going.
For something cheerful and colorful, try my Fruit Coloring Pages. And if cute animals are more your thing, you might enjoy these Farm Animal Coloring Pages.
I also share plenty of creative inspiration on Cozy Mom Journal on Pinterest, so save your favorite ideas there if you want an easy place to find them again later.
One Last Thing Before You Put the Pencils Away
I hope these cute spooky coloring pages give you a little creative break during the Halloween season—whether you color one page with your morning coffee, print several for a cozy afternoon, or somehow end up completing all 21.
What I love most about simple coloring projects is that there really isn’t a wrong way to finish them. Traditional orange pumpkins are beautiful, but so are pink ones. Ghosts can be white, lavender, blue, or whatever color happens to make you happy that day.
So experiment. Use strange color combinations. Add sparkles. Ignore one of my suggestions completely and do something better.
That’s the best part of making something yourself.
And if you color one of these pages, I’d genuinely love to see what you create. Which design was your favorite—the ghosts, the little witch cat, the bats, the pumpkins, or something else entirely?
Share your finished page with me on Pinterest, or post your creation on Instagram and tag @cozymomjournal so I can see it.
And tell me: are you a classic orange-and-purple Halloween colorer, or are you firmly on Team Pastel Ghost? 🎃👻