Paper bunny craft projects always make me smile because there’s something special about turning a few simple paper pieces into a cute little character with personality. I’ve always loved creative projects that start with a blank sheet of paper and end with that little “I made this!” moment. Maybe you know that feeling too — tiny paper scraps on the table, a glue stick rolling away for the third time, and somehow the whole desk becoming a mini craft explosion.
I created this paper bunny craft because I wanted something sweet, easy to make, and fun enough that anyone could enjoy it. I also wanted a craft that doesn’t require fancy supplies or a trip to the craft store. Sometimes the hardest part of starting a creative activity is feeling like you need a giant pile of materials before you can begin. I’ve been there too.
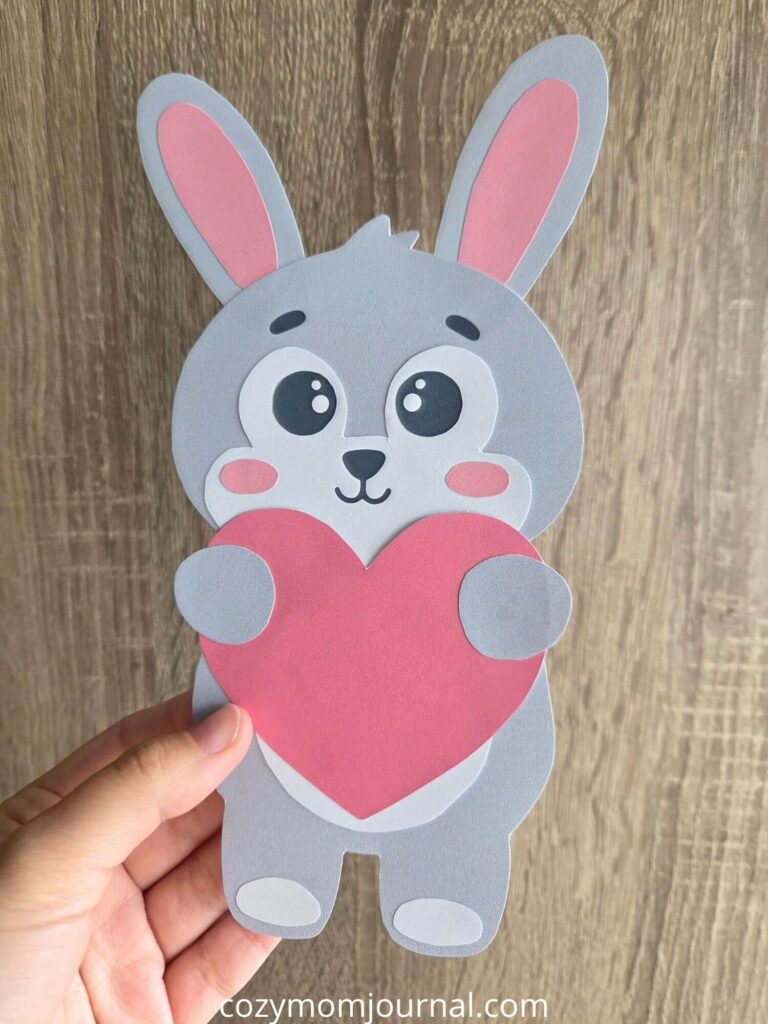
This bunny actually started as a little sketch idea while I was working on cute drawing projects. I kept imagining a tiny bunny holding a heart and looking like it had just run over to give someone the biggest paper hug ever. A few sketches later (and probably more eraser crumbs than I’d like to admit), this little bunny finally came to life.
If you ever sit down wanting to make something creative but immediately think:
- “I don’t know what to make.”
- “I don’t have enough supplies.”
- “I want something easy and cute.”
- “I need an activity that doesn’t take forever.”
I know this will be useful for you because I run into these exact situations all the time.
This paper bunny craft only needs:
- The free printable craft template
- Scissors
- A glue stick
- A few relaxing minutes
That’s it.
You can find the free printable craft template at the bottom of this article, so feel free to print it out and start creating. Don’t overthink it. Grab your scissors, clear a little space on your table, and enjoy making something adorable today.
One of my favorite things about crafting is that there isn’t really a “perfect” version. Your bunny might have slightly tilted ears, a heart that’s a little off-center, or eyes that somehow end up giving your bunny a suspicious expression. Trust me — sometimes those become the cutest versions.
Step 1: Print Your Bunny Template
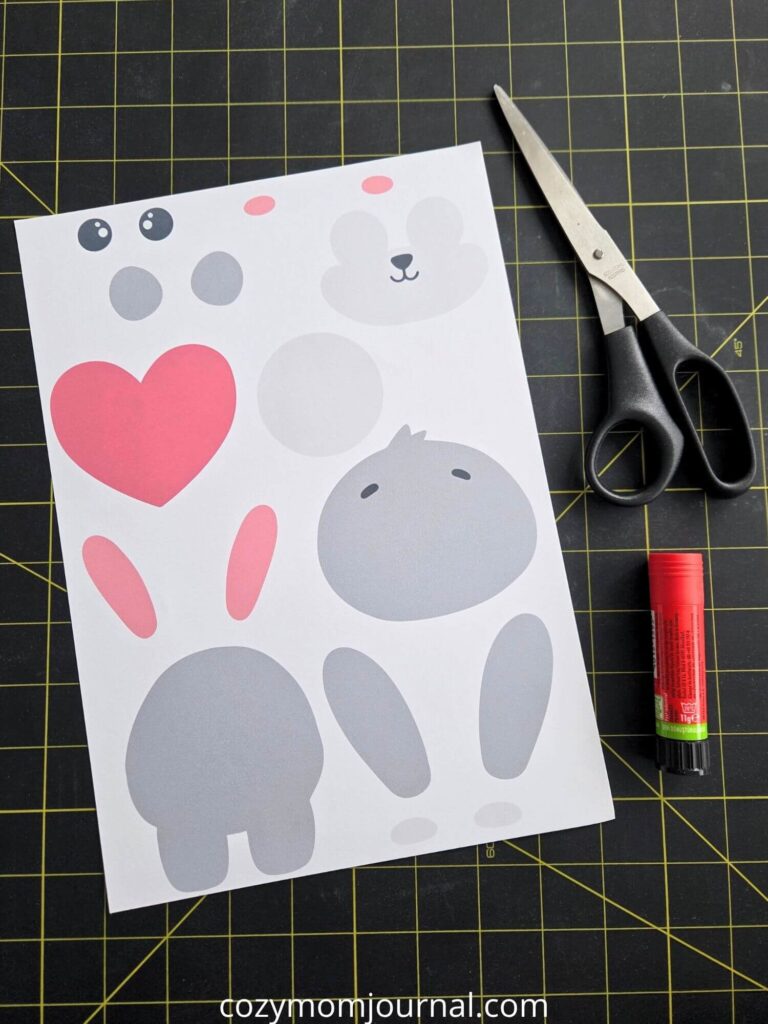
Start by printing out the free printable bunny craft template (you can find it below the article). You’ll also need a pair of scissors and a glue stick to put your bunny together.
Make sure everything is ready before you begin so you can enjoy a fun and easy crafting time.
Now you’re all set to create your adorable paper bunny!
Step 2: Cut Out the Bunny Pieces
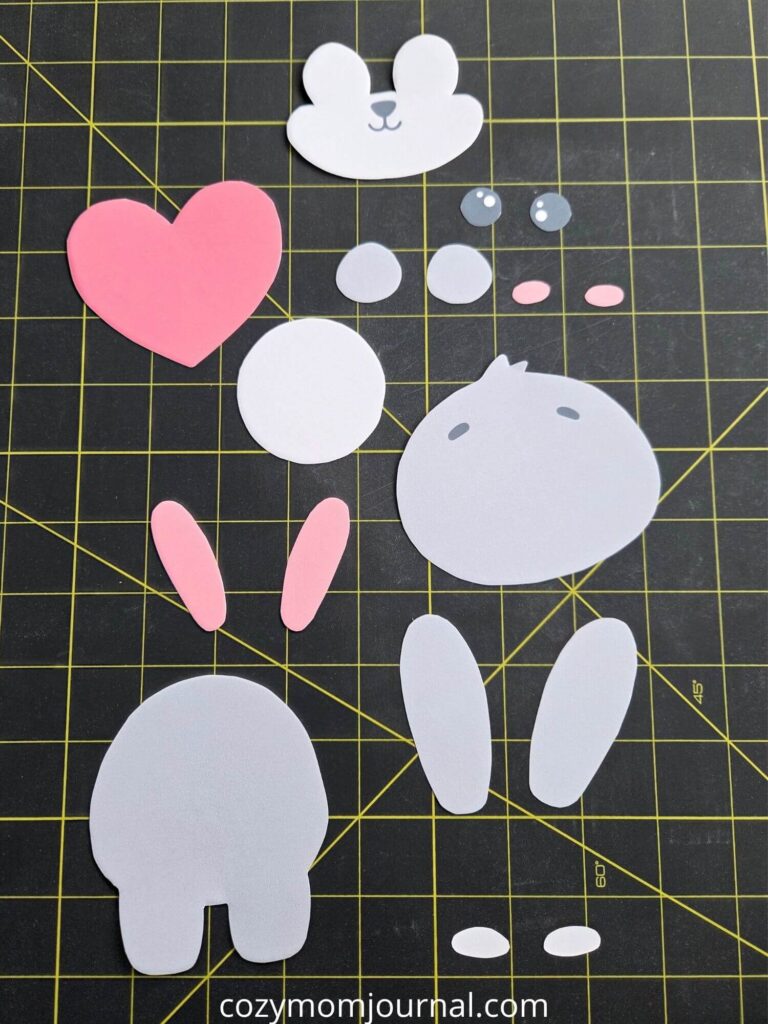
Carefully cut out all of the pieces from the printable template using scissors.
Take your time and cut around the edges as neatly as you can so your bunny will fit together nicely later.
Once everything is cut out, place all the pieces in front of you and get ready to start building your adorable bunny craft.
Step 3: Add the Bunny Belly
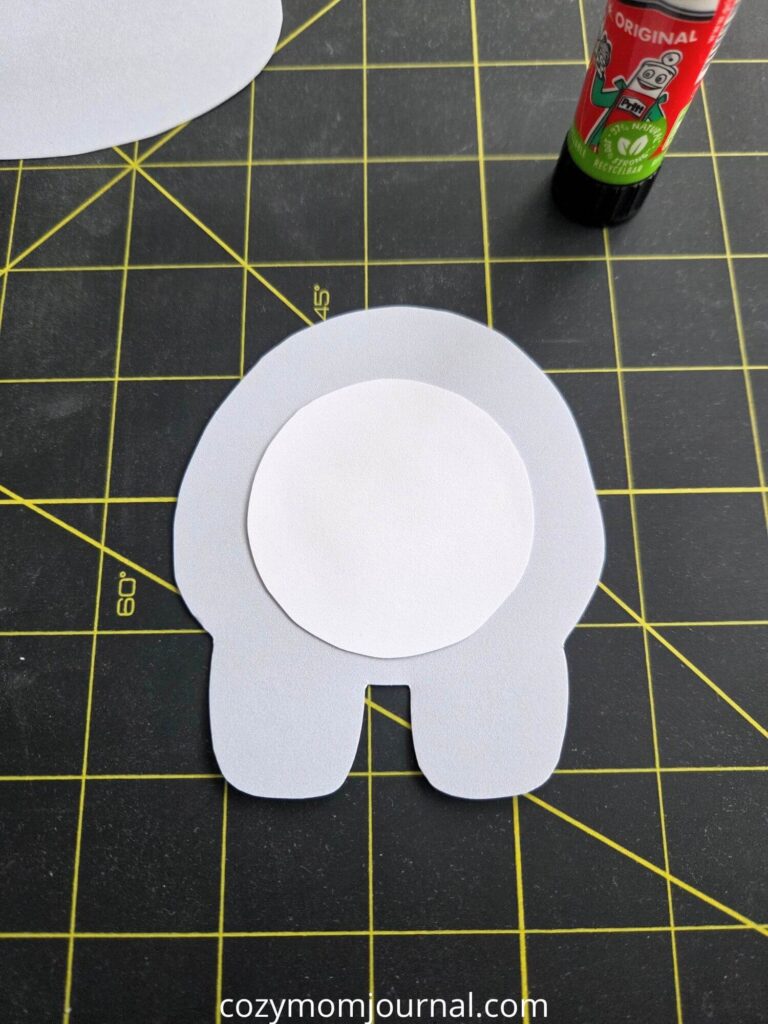
Take the round belly piece and glue it onto the center of the bunny’s body.
Try to place it evenly so there is a nice border showing around the edges. Press it down gently and make sure it sticks well before moving on to the next step.
Your bunny is already starting to come together!
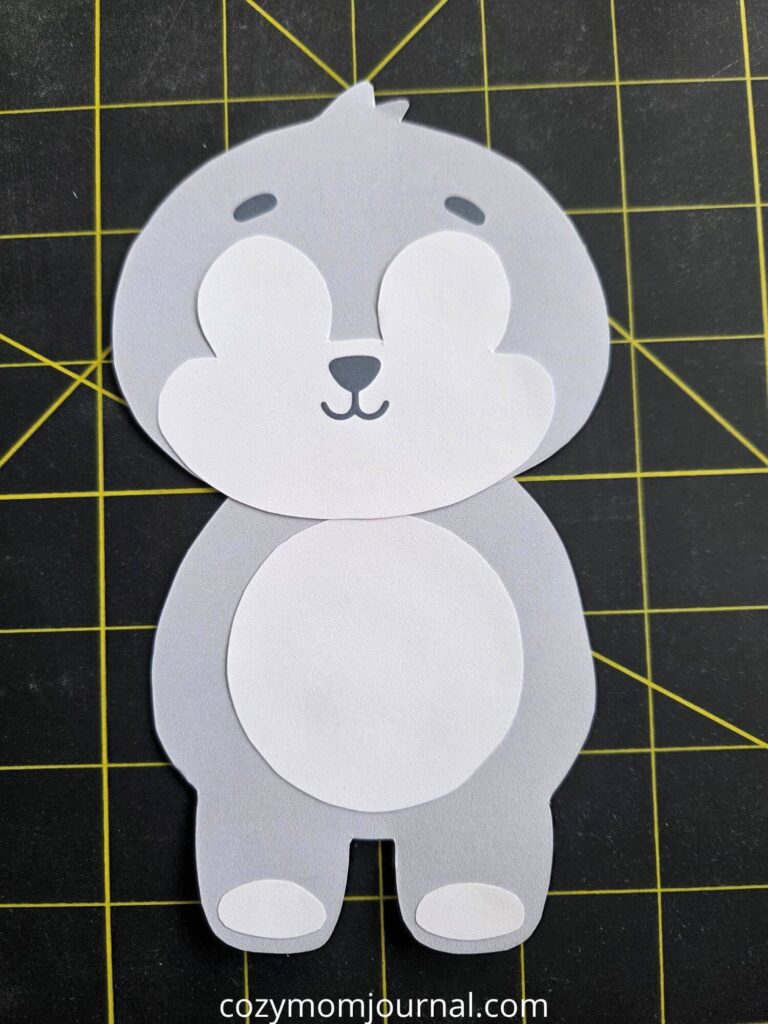
Step 4: Attach the Bunny Head
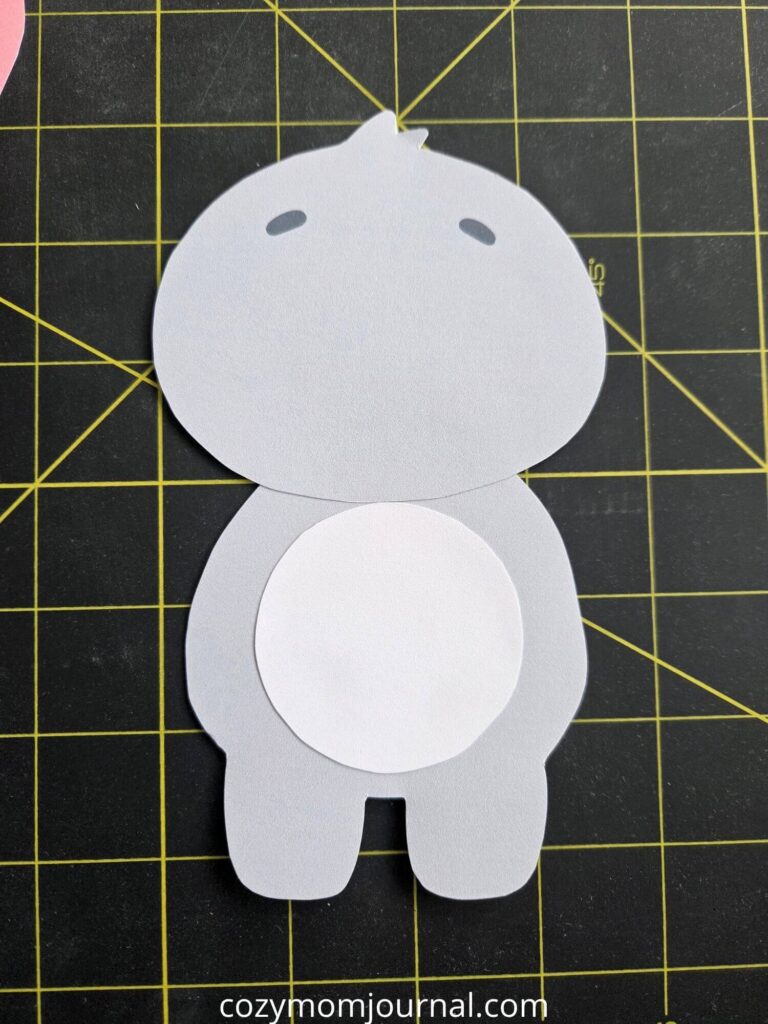
Now take the bunny head piece and glue it onto the top of the body. Place it so it slightly overlaps the body to create one complete bunny shape.
Press it down gently and make sure it is centered before moving on.
Your bunny is starting to take shape now!
Step 5: Add the Bunny Feet
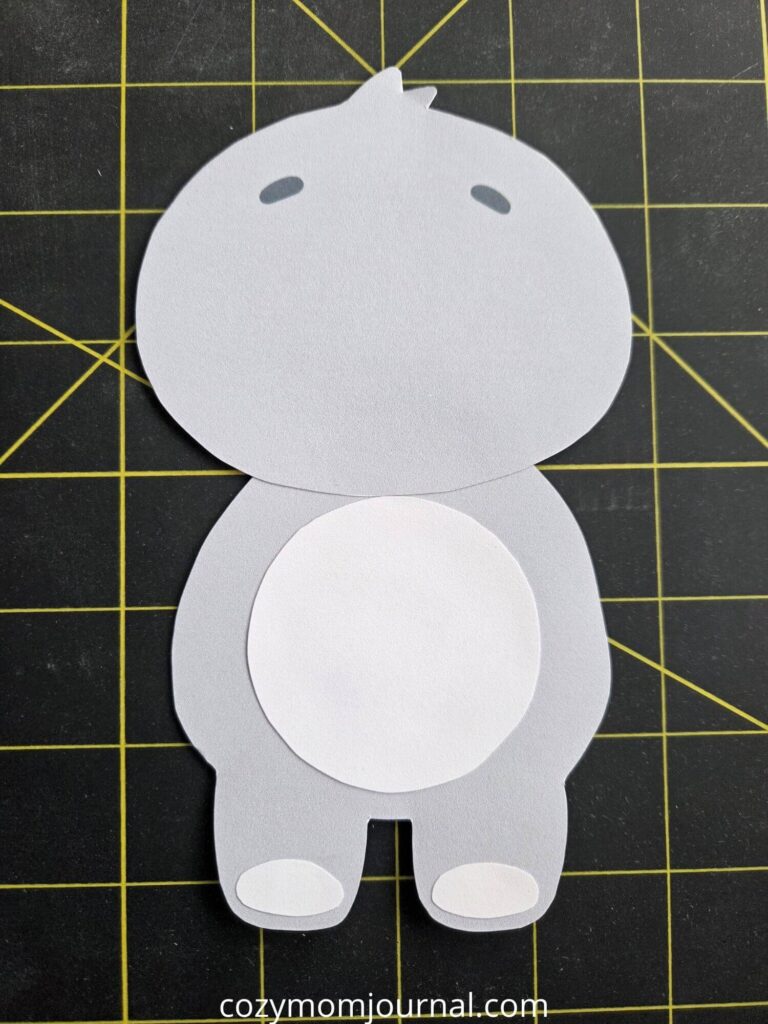
Take the two small foot pieces and glue them onto the bottom of the bunny’s legs. Try to place them evenly so they match on both sides.
Press them down gently and check that they line up nicely.
Your bunny is looking even cuter now!
Step 6: Add the Bunny Face Shape
Take the bunny face piece and glue it onto the lower part of the head. Place it in the center so it sits neatly under the eyebrows and creates the bunny’s adorable face shape.
Press it down gently and make sure it is lined up evenly.
Your bunny is starting to get a sweet little face now!
Step 7: Add the Bunny Eyes
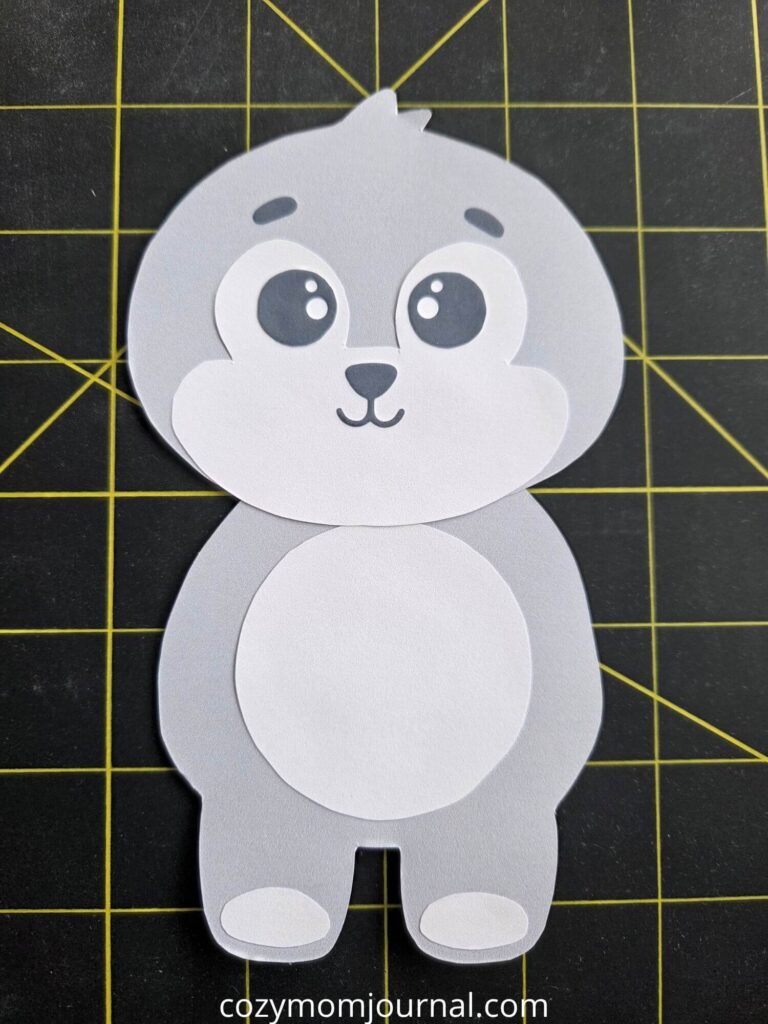
Take the two eye pieces and glue them onto the face. Place them evenly on each side so your bunny has a balanced and cute look.
Press them down gently and make sure they line up nicely.
Your bunny is really starting to come to life now!
Step 8: Add the Heart
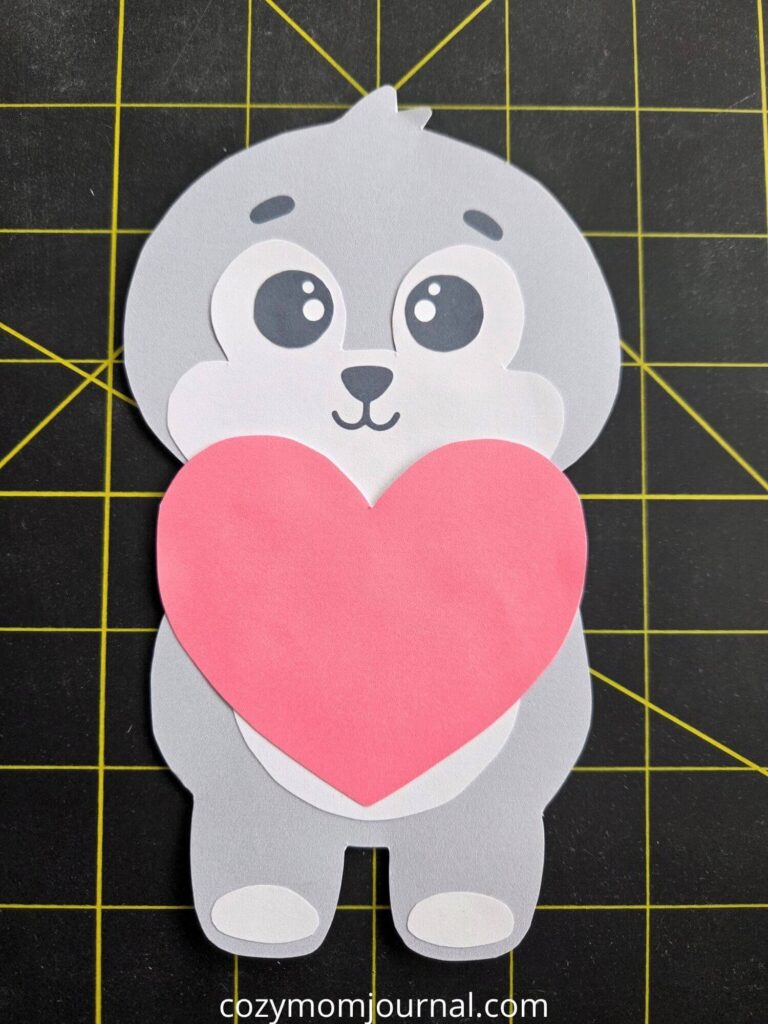
Take the heart piece and glue it onto the front of the bunny’s body. Place it in the center so it looks like your bunny is holding a big heart close to itself.
Press it down gently and make sure it is positioned nicely.
Your bunny is starting to look extra sweet and lovable now!
Step 9: Add the Bunny Paws
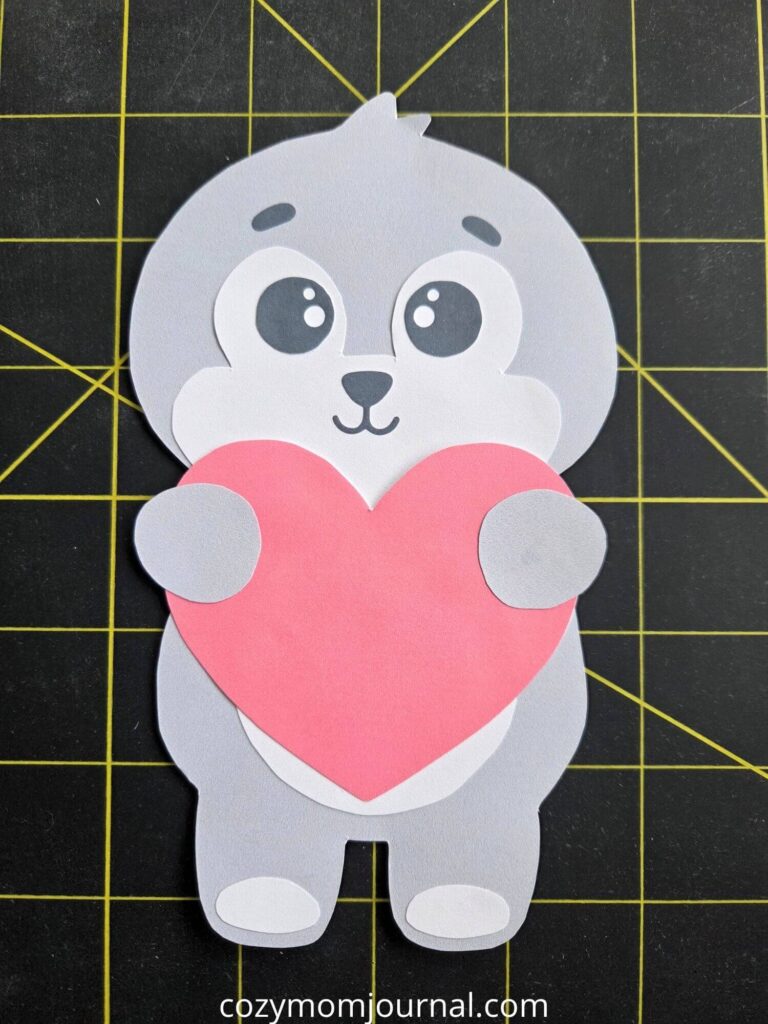
Take the two paw pieces and glue them onto the sides of the heart. Place them so it looks like your bunny is holding the heart in its little paws.
Adjust them if needed until both sides look even, then press gently to secure them in place.
Your bunny is almost finished!
Step 10: Assemble the Bunny Ears
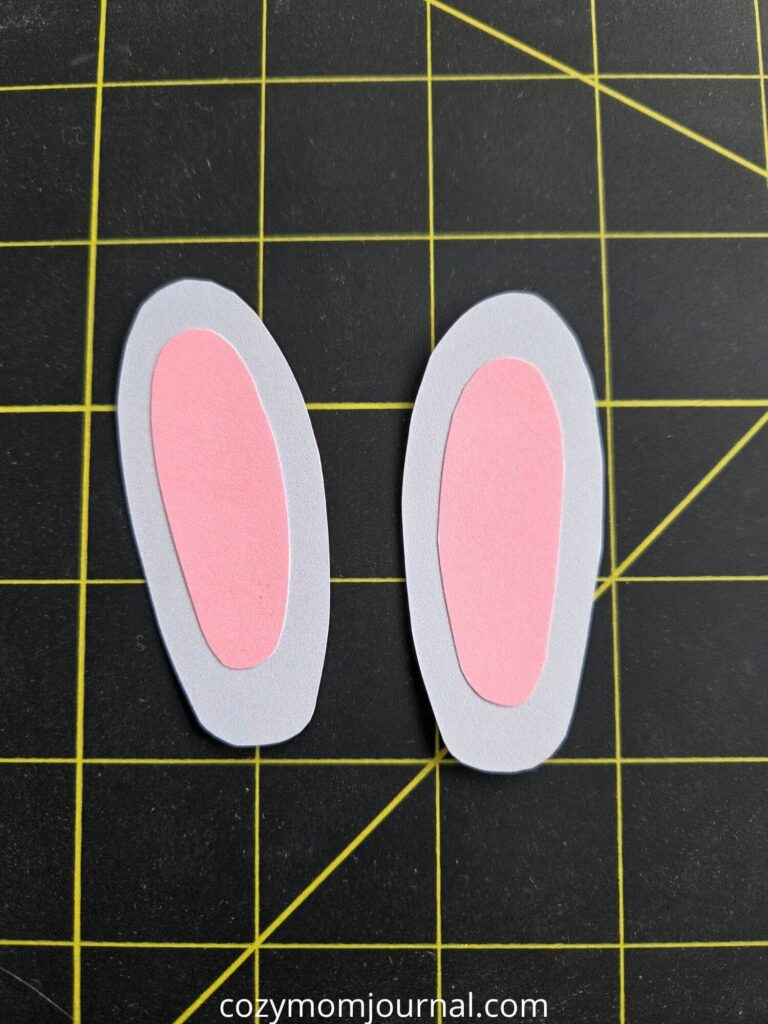
Take the two pink inner ear pieces and glue them onto the larger ear pieces. Try to place them in the center so there is an even border around each side.
Press them down gently and make sure both ears match.
Your bunny ears are now ready for the final touch!
Step 11: Finish Your Bunny Ears
For the final step, glue the finished ears behind the bunny’s head.
Place them evenly on each side and adjust them until you like how they look.
Press gently so they stay in place, then let the glue dry for a moment.
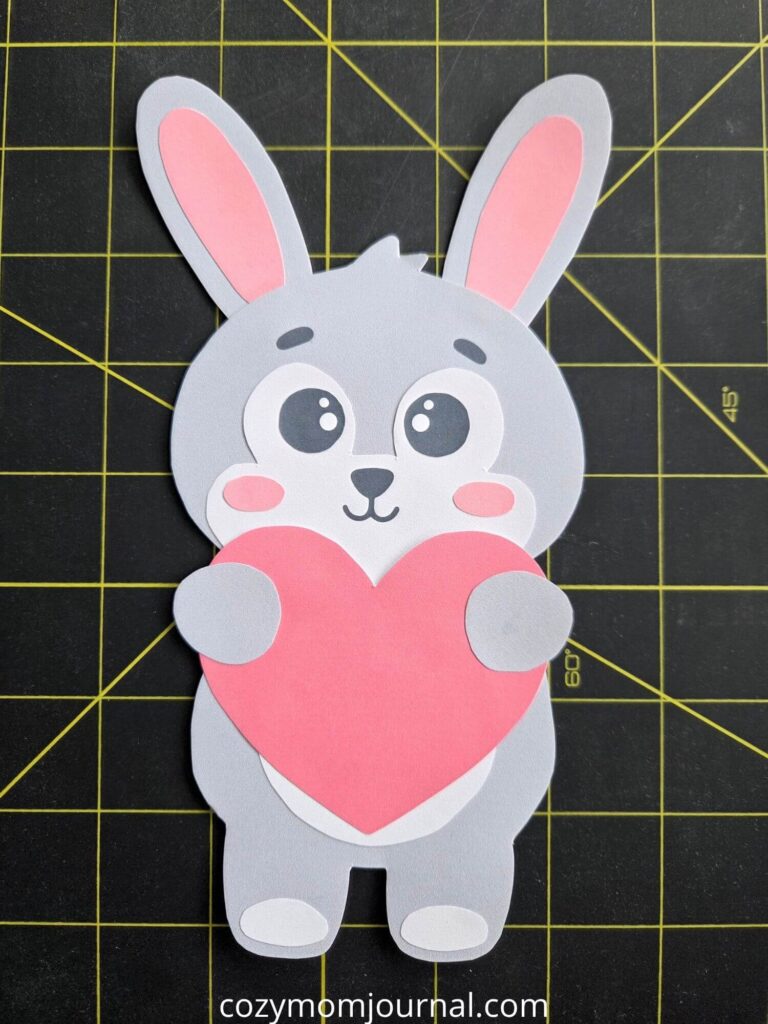
Your adorable bunny holding a heart is now finished and ready to display!
More Creative Ideas To Try Next
If you’re anything like me, one craft idea somehow turns into five more ideas within about ten minutes. I always start with one project and suddenly I’m planning the next thing before the glue even dries.
If you want to keep creating, I think you’ll enjoy these too:
- Easy Summer Doodles
- 15 Easy Animal Toilet Paper Roll Crafts Kids Will Love
- 12 Easy Animal Mason Jar Crafts For Kids
I also share more ideas and inspiration over on Pinterest if you want more cute projects for your next creative day.
Final Thoughts On This Paper Bunny Craft
I love making projects like this paper bunny craft because they remind me that creativity doesn’t need to be complicated. We sometimes convince ourselves we need expensive supplies or a perfect setup before we start creating, but honestly, some of my favorite projects started with a printed page and a glue stick sitting on the kitchen table.
This paper bunny craft also reminds me why I enjoy making my own templates. I get to turn random little ideas floating around in my head into something real that other people can create too. That is honestly one of my favorite parts.
I hope this paper bunny craft gives you a fun little creative break in your day. Print the free printable craft template, cut out the pieces, and enjoy putting your bunny together. Make one bunny or make ten of them. Give them different heart colors. Create an entire bunny family if you want.
Now I want to hear from you:
- Did you make your bunny exactly like mine?
- Did you choose different colors?
- What other paper animals would you love to make?
Share your creations, leave a comment on Pinterest, and tag me on Instagram @cozymomjournal so I can see what you made. I genuinely love seeing how people take one idea and make it their own.